Committed TryHackMe Writeup
In this article, I will be sharing a writeup for Committed room from TryHackMe. This is an easy level challenge which includes analyzing a git repository to find the flag.

First of all we need to start the machine and then you can access the target machine from the split view.
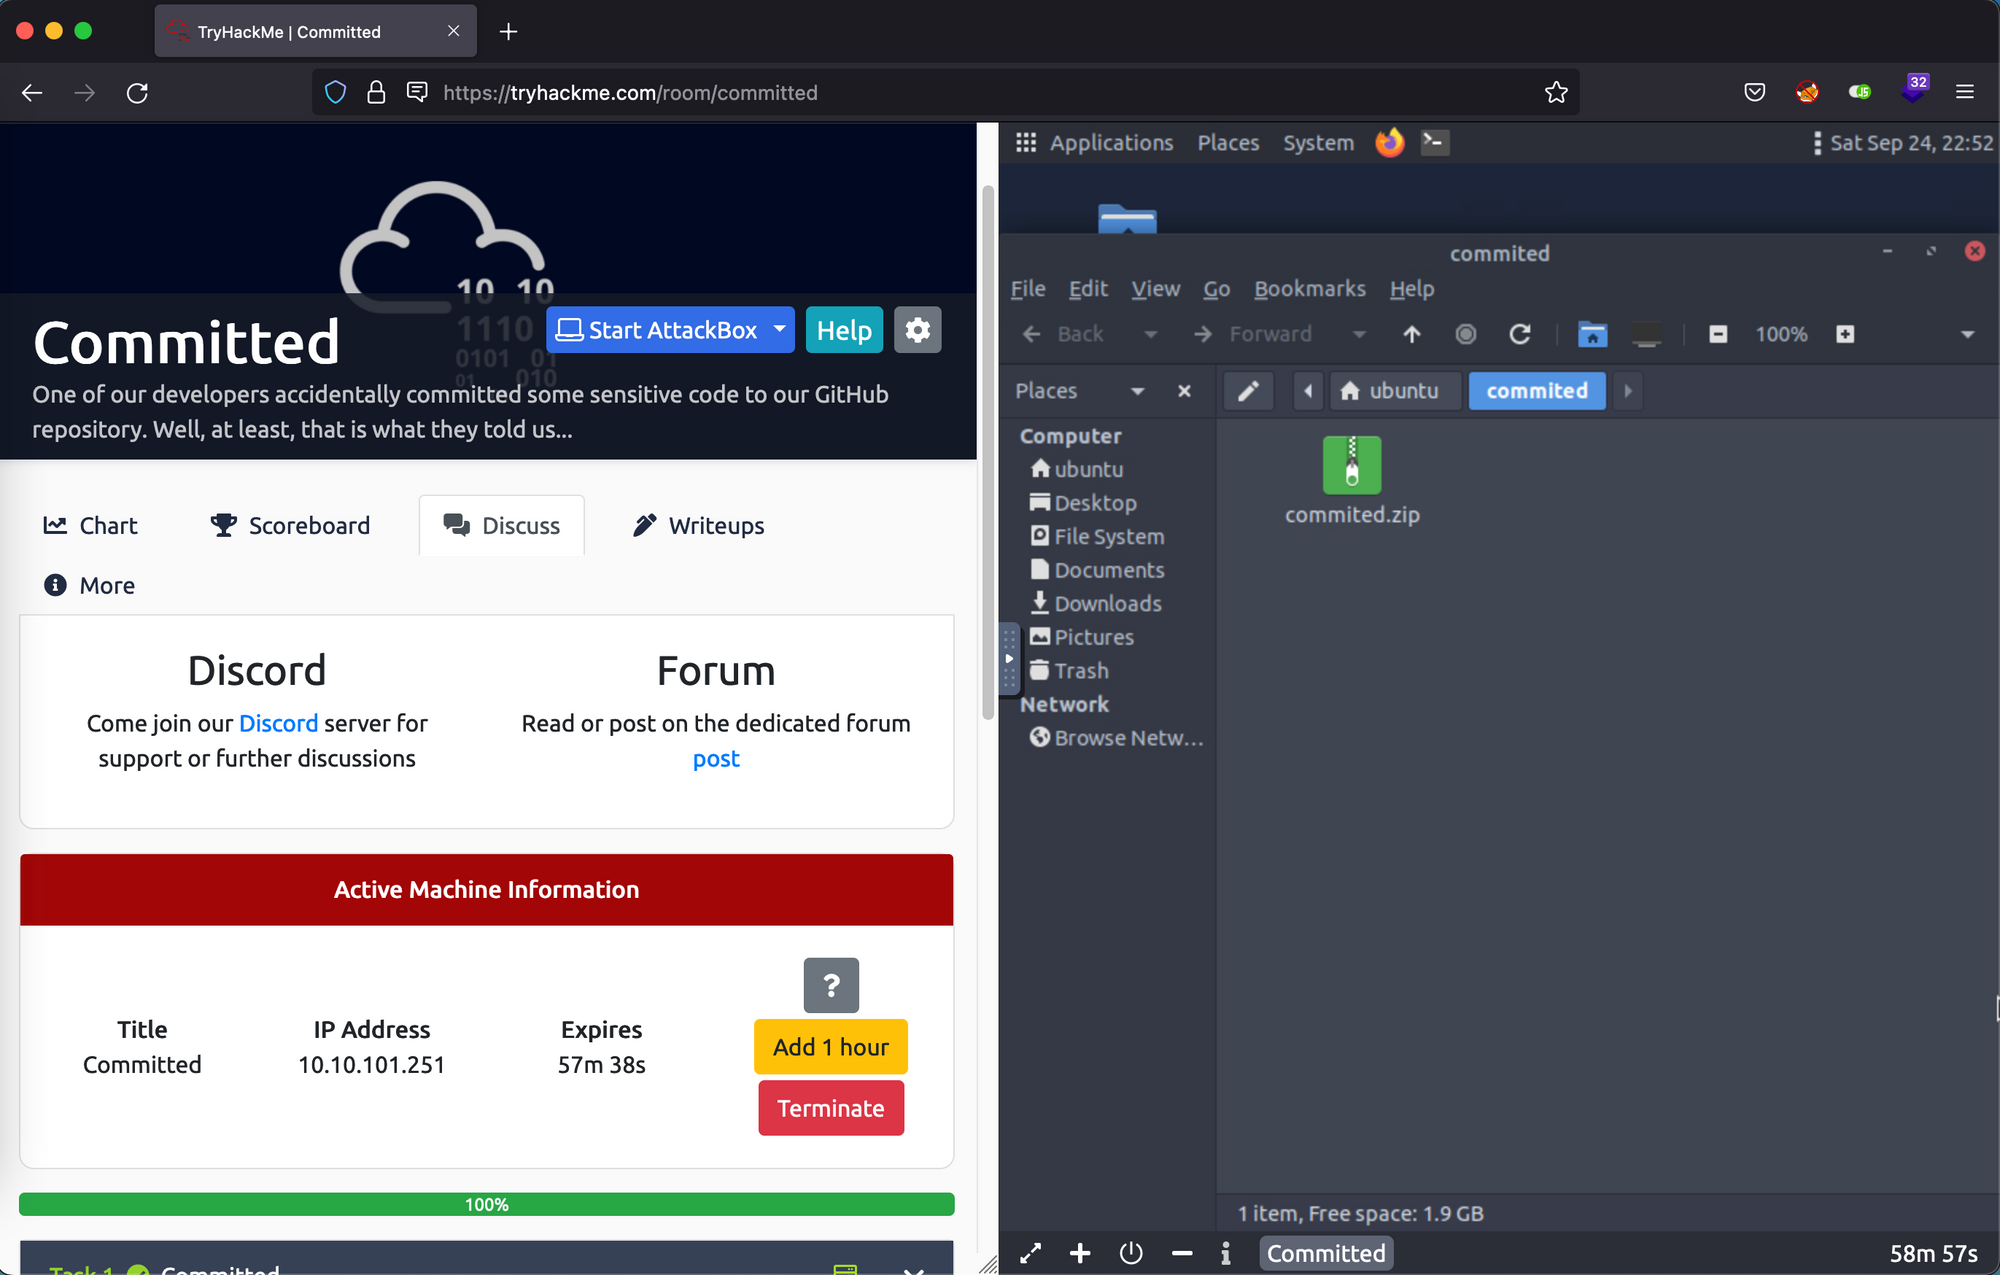
We are given a zip file named commited.zip. Let's start by extracting the zip file first.
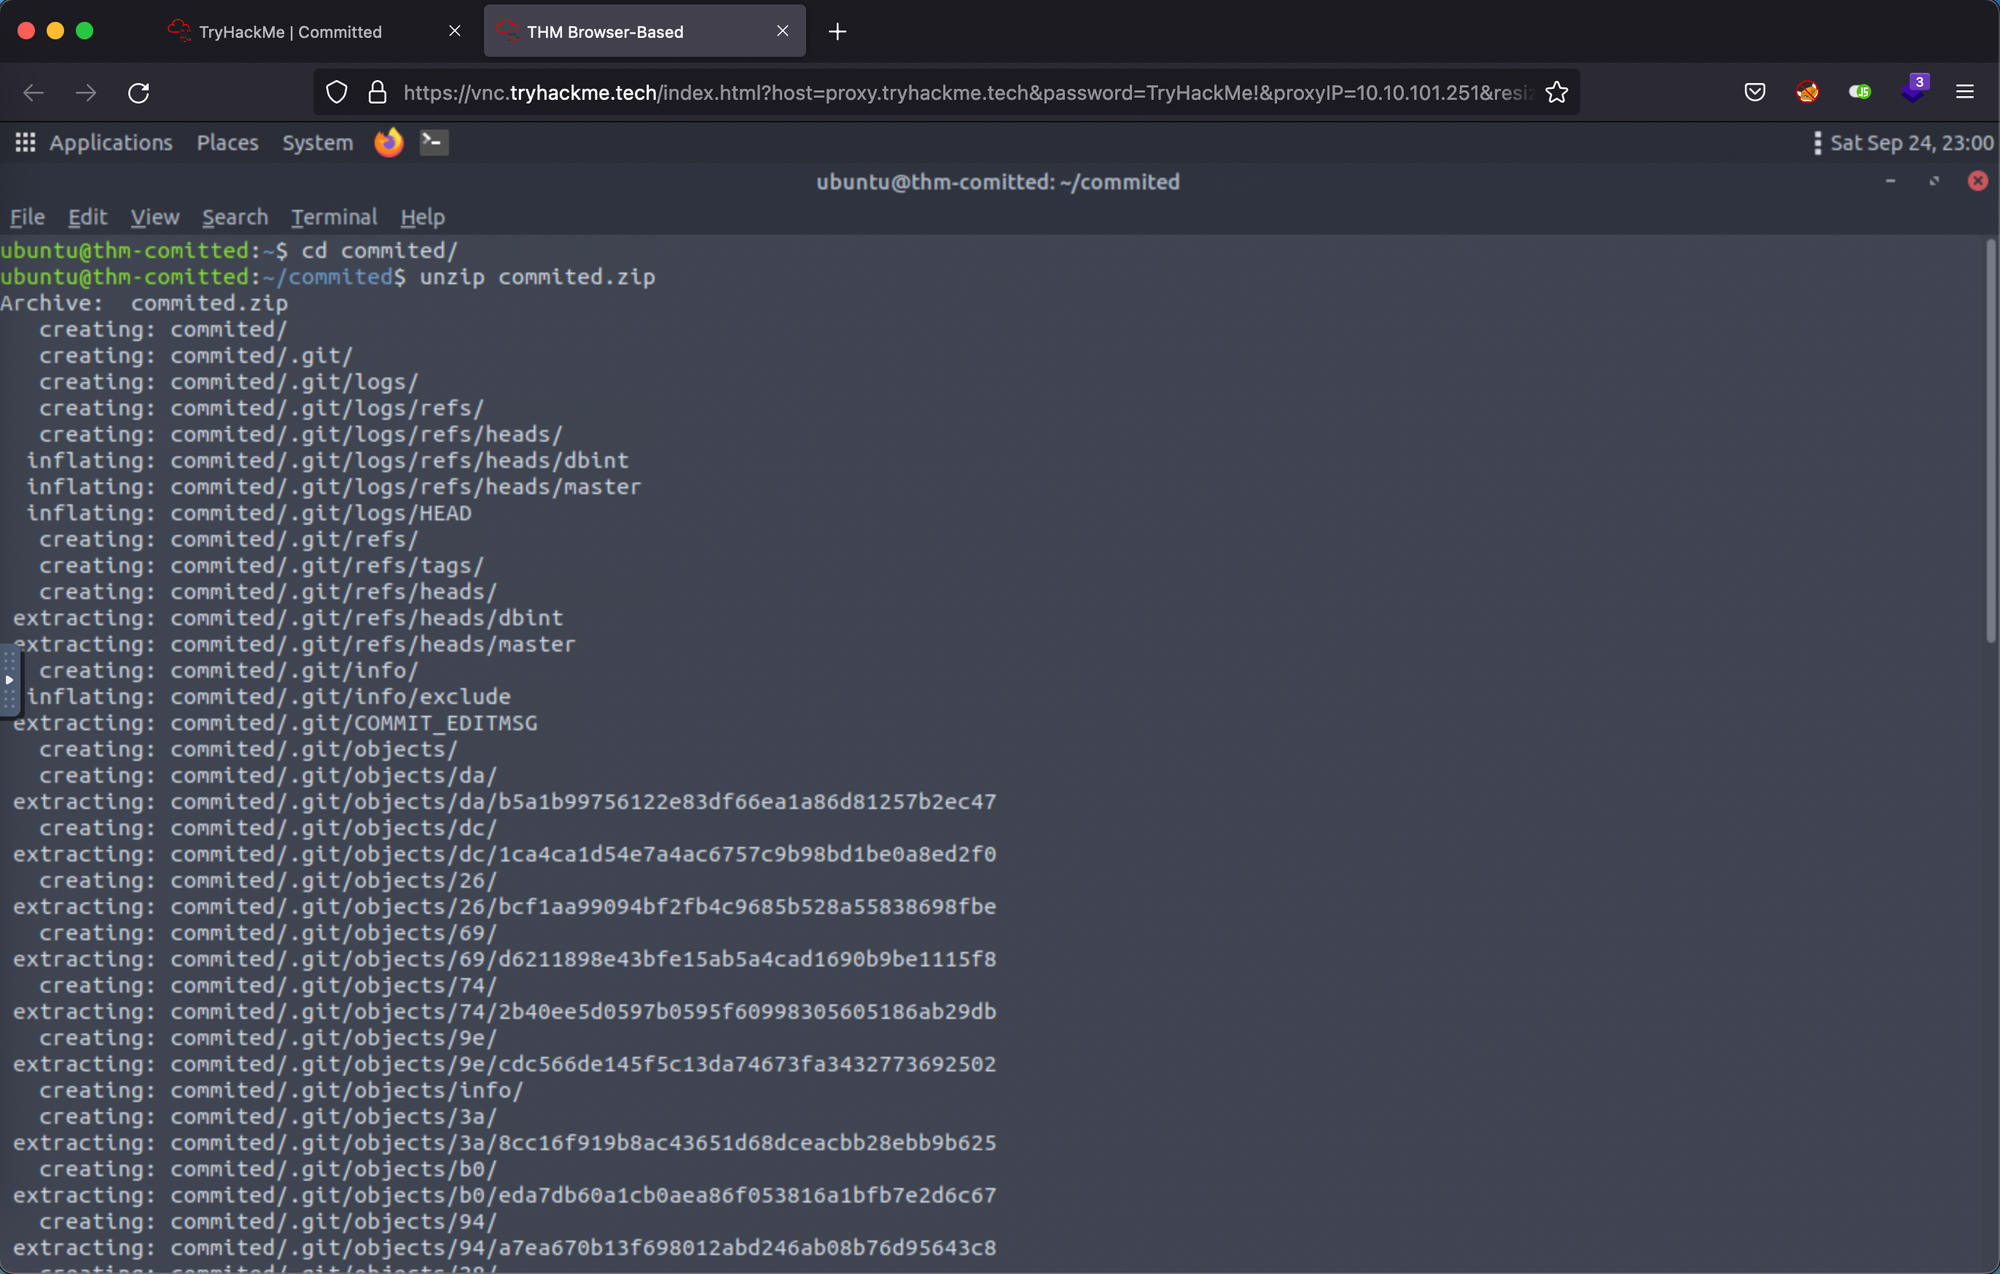
We can see that there is a .git folder which means that this is a git repository. Apart from that, there are another two files. Let's check them one by one.
ubuntu@thm-comitted:~/commited/commited$ ls -lah
total 20K
drwxrwxr-x 3 ubuntu ubuntu 4.0K Feb 13  2022 .
drwxrwxr-x 3 ubuntu ubuntu 4.0K Sep 24 23:00 ..
drwxrwxr-x 8 ubuntu ubuntu 4.0K Feb 13  2022 .git
-rw-rw-r-- 1 ubuntu ubuntu  393 Feb 13  2022 Readme.md
-rw-rw-r-- 1 ubuntu ubuntu  982 Feb 13  2022 main.py
First of all we have a readme file, but this does not contain anything useful.
ubuntu@thm-comitted:~/commited/commited$ cat Readme.md
# Commited
---

## About the Project

Commited is our project created to manage our databases, Commited will bring help our database management team by simplfying database management by using our python scripts.

## Project Status

Completed.

## Team

Our development team consists of finest developers and we work simultaneously using our cool version control methodology. We are the BEST.
Next is the main.py python script which is creating a MYSQL database and storing data inside it.
ubuntu@thm-comitted:~/commited/commited$ cat main.py
import mysql.connector

def create_db():
    mydb = mysql.connector.connect(
    host="localhost",
    user="", # Username Goes Here
    password="" # Password Goes Here
    )

    mycursor = mydb.cursor()

    mycursor.execute("CREATE DATABASE commited")


def create_tables():
    mydb = mysql.connector.connect(
    host="localhost",
    user="", #username Goes here
    password="", #password Goes here
    database="commited"
    )

...
Let's check the .git folder and look for previous versions of these files.
ubuntu@thm-comitted:~/commited/commited$ cd .git
ubuntu@thm-comitted:~/commited/commited/.git$ ls
COMMIT_EDITMSG  HEAD  branches  config  description  hooks  index  info  logs  objects  refs
First of all we can use the git log command to look for older commits in the master branch.
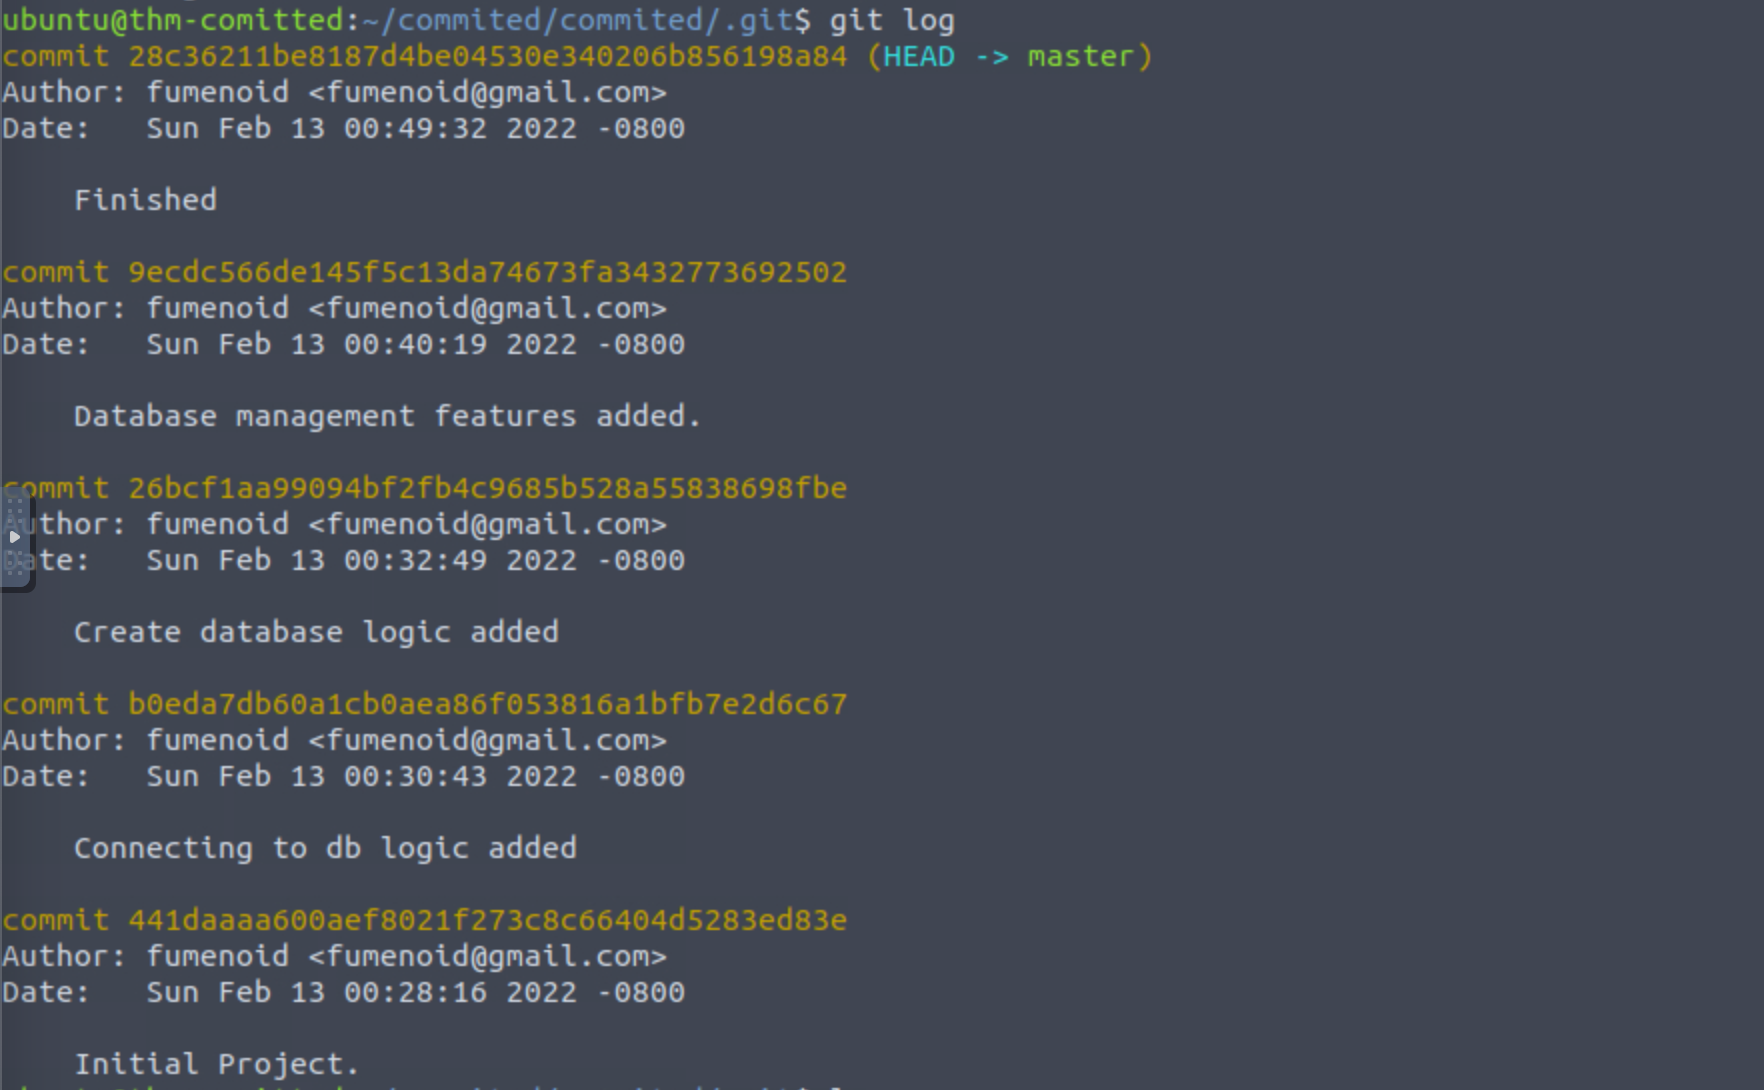
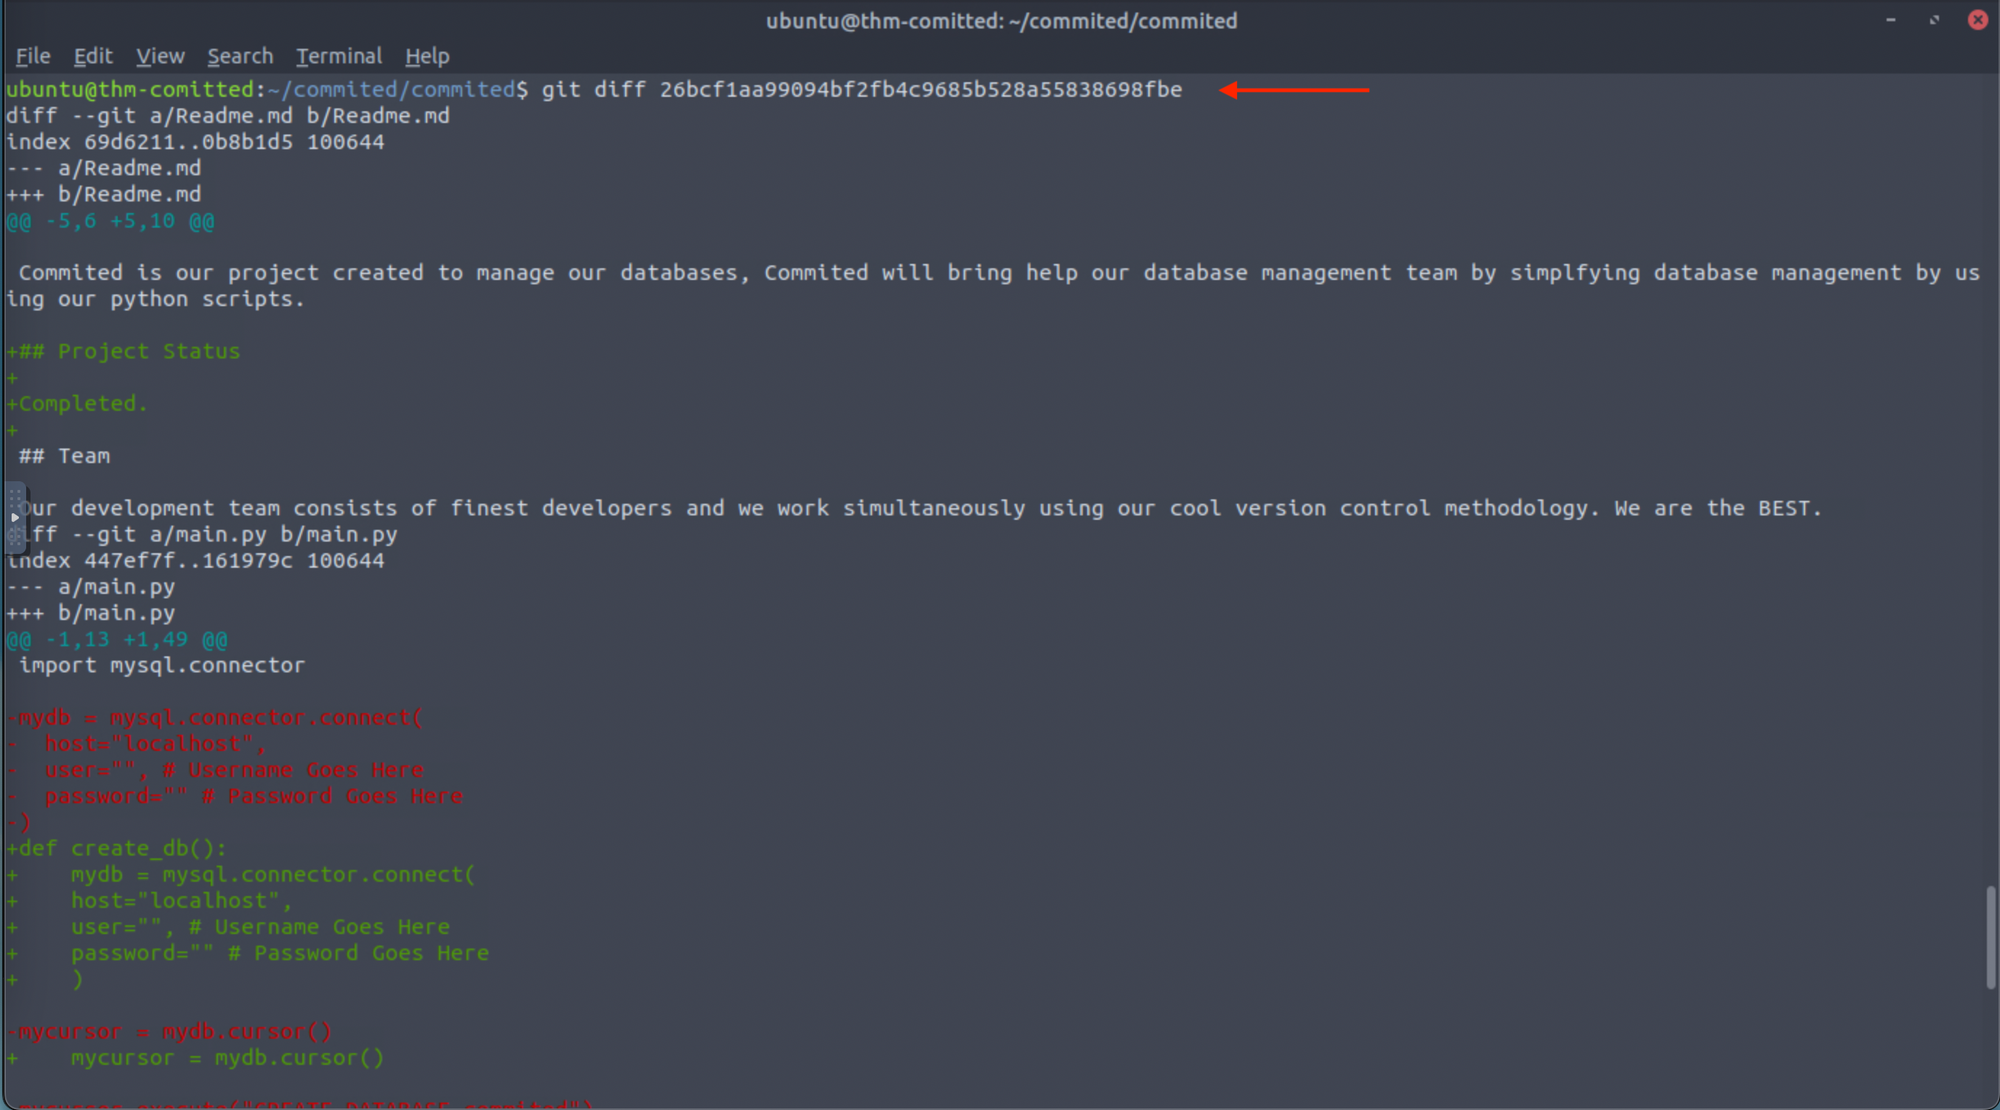
We have 4 older commits. Let's get back to the previous directory and have a look at them. We can use the git diff <hash> command to compare the modified files.
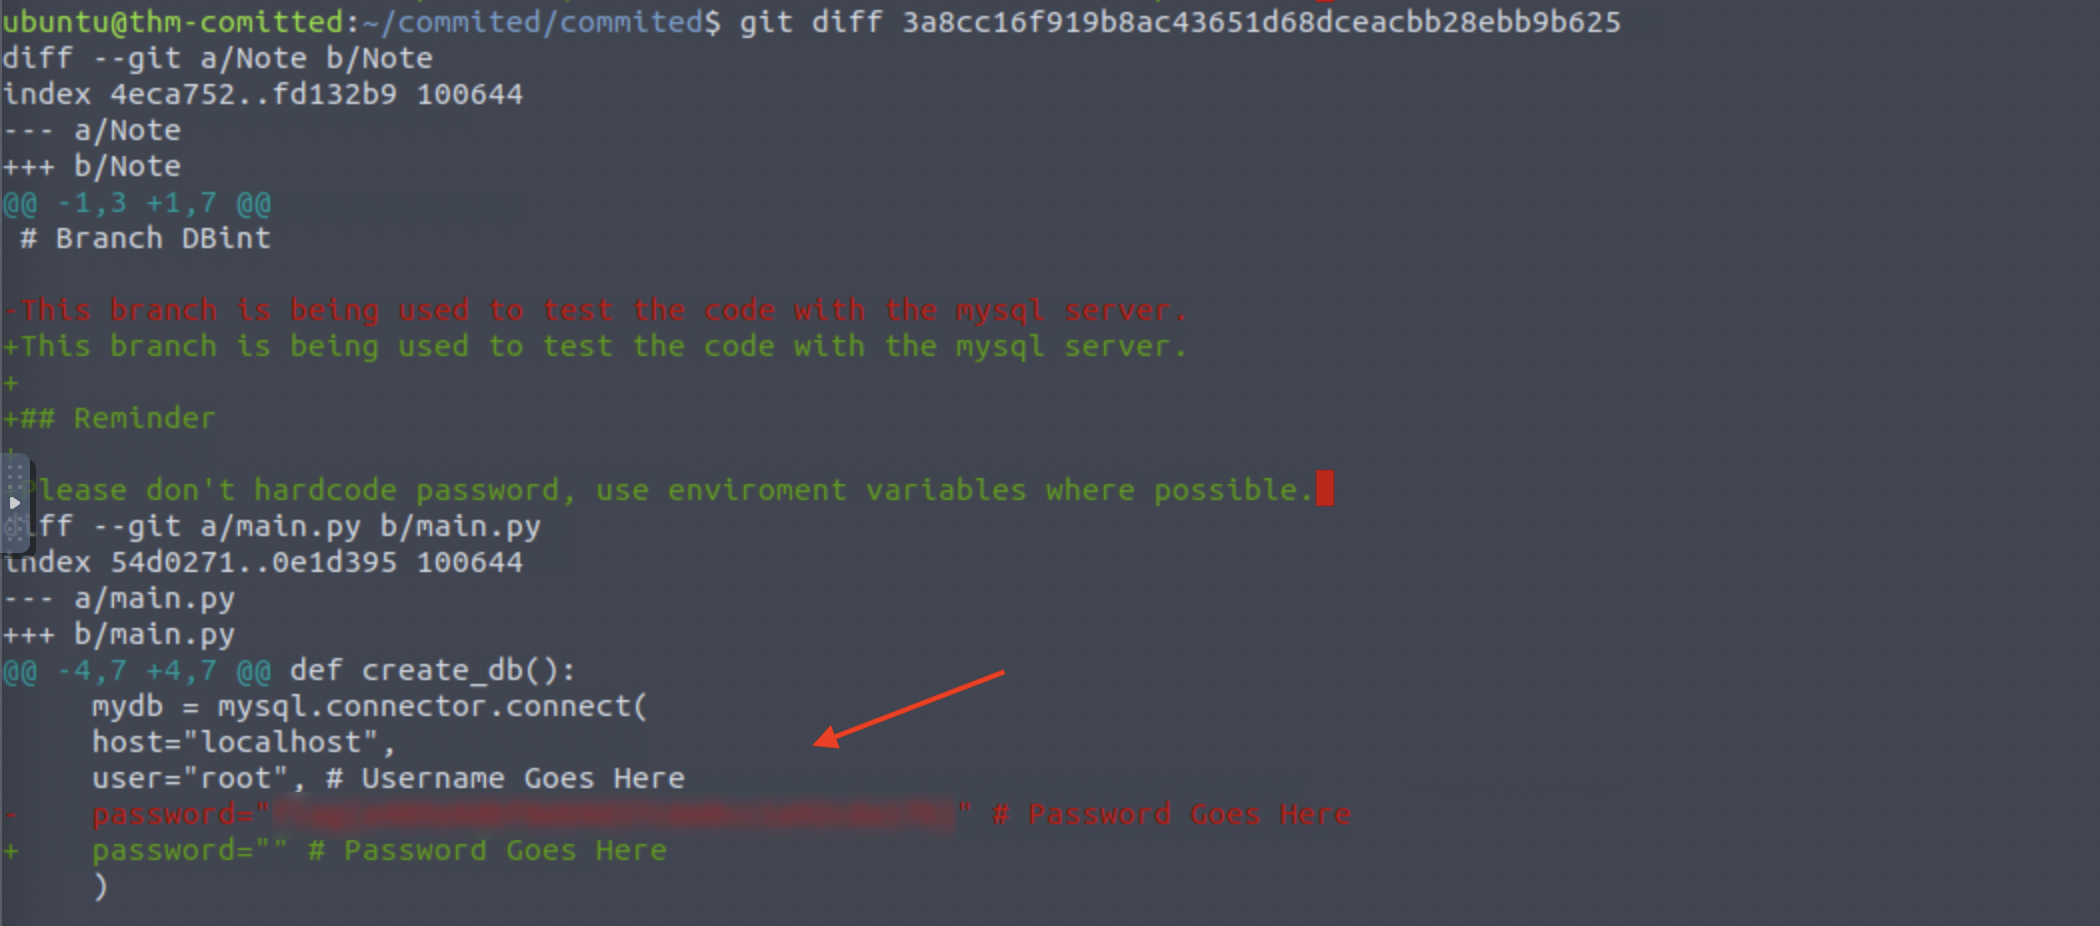
The lines shown in red are the deleted lines and the link shown in green are the lines added in this commit.
Similarly, we can check for all other commits. I checked all the commits but did not find the flag.
Next what we can do is repeat the same process for a different branch. First we need to check if there is another branch present. We can do this by using the git branch -a command.
ubuntu@thm-comitted:~/commited/commited$  git branch -a
  dbint
* master
We have another branch named dbint. We can change our current branch using the git checkout <branch_name> command.
ubuntu@thm-comitted:~/commited/commited$ git checkout dbint
Switched to branch 'dbint'
Now we can again use the git log command to check for previous commits.
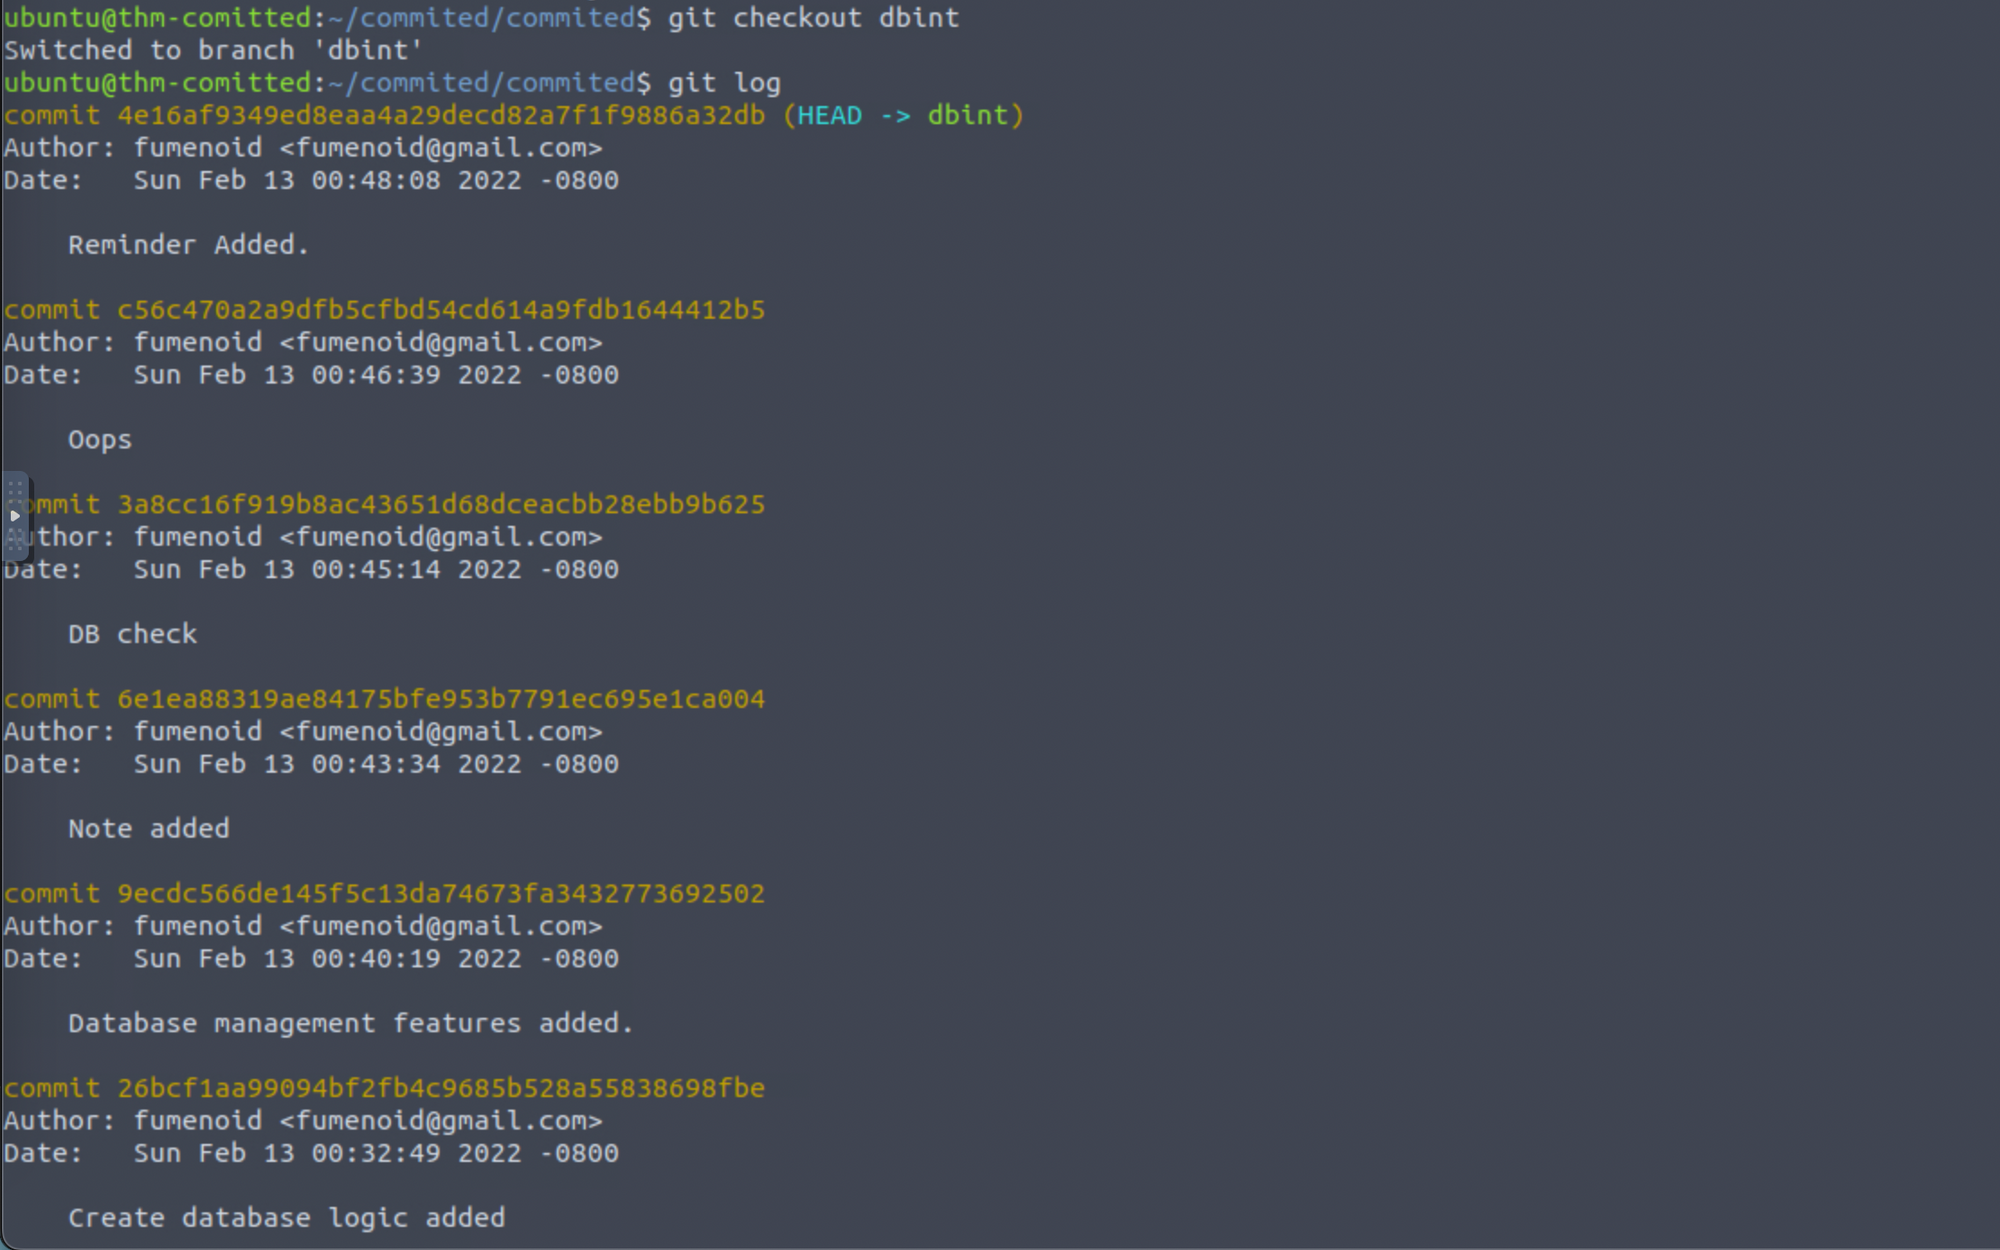
Next if we again compare the changes using the git diff command, we will find our flag in one of the commits.
That’s it! The challenge is now complete. Thanks for reading, Stay tuned for similar walkthroughs and much more coming up in the near future!
NOTE: The awesome artwork used in this article was created by Simon Oxley